
Learn how to draw cars with Porsche’s head of design!
In the second installment of the series, Porsche's head of design helps you draw a 992-generation 911. So while you might be locked up at home with nothing to do, you can learn how to get better at sketching a car thanks to the step by step instruction fro Michael Mauer, Porsche's head of design.

Last week we brought you the first part of the #GetCreativeWithPorsche series where Richard Pardon gave his insider tips on automotive photography. This week, Michael Mauer, head of design at Porsche teaches you how to draw a car, step-by-step. As head of design, Michael definitely knows how to sketch and admits to drawing and doodling most hours of the day, “Even at breakfast I’m sketching, and it’s almost always cars: I can’t help myself.”
Step 1: Draw the wheels
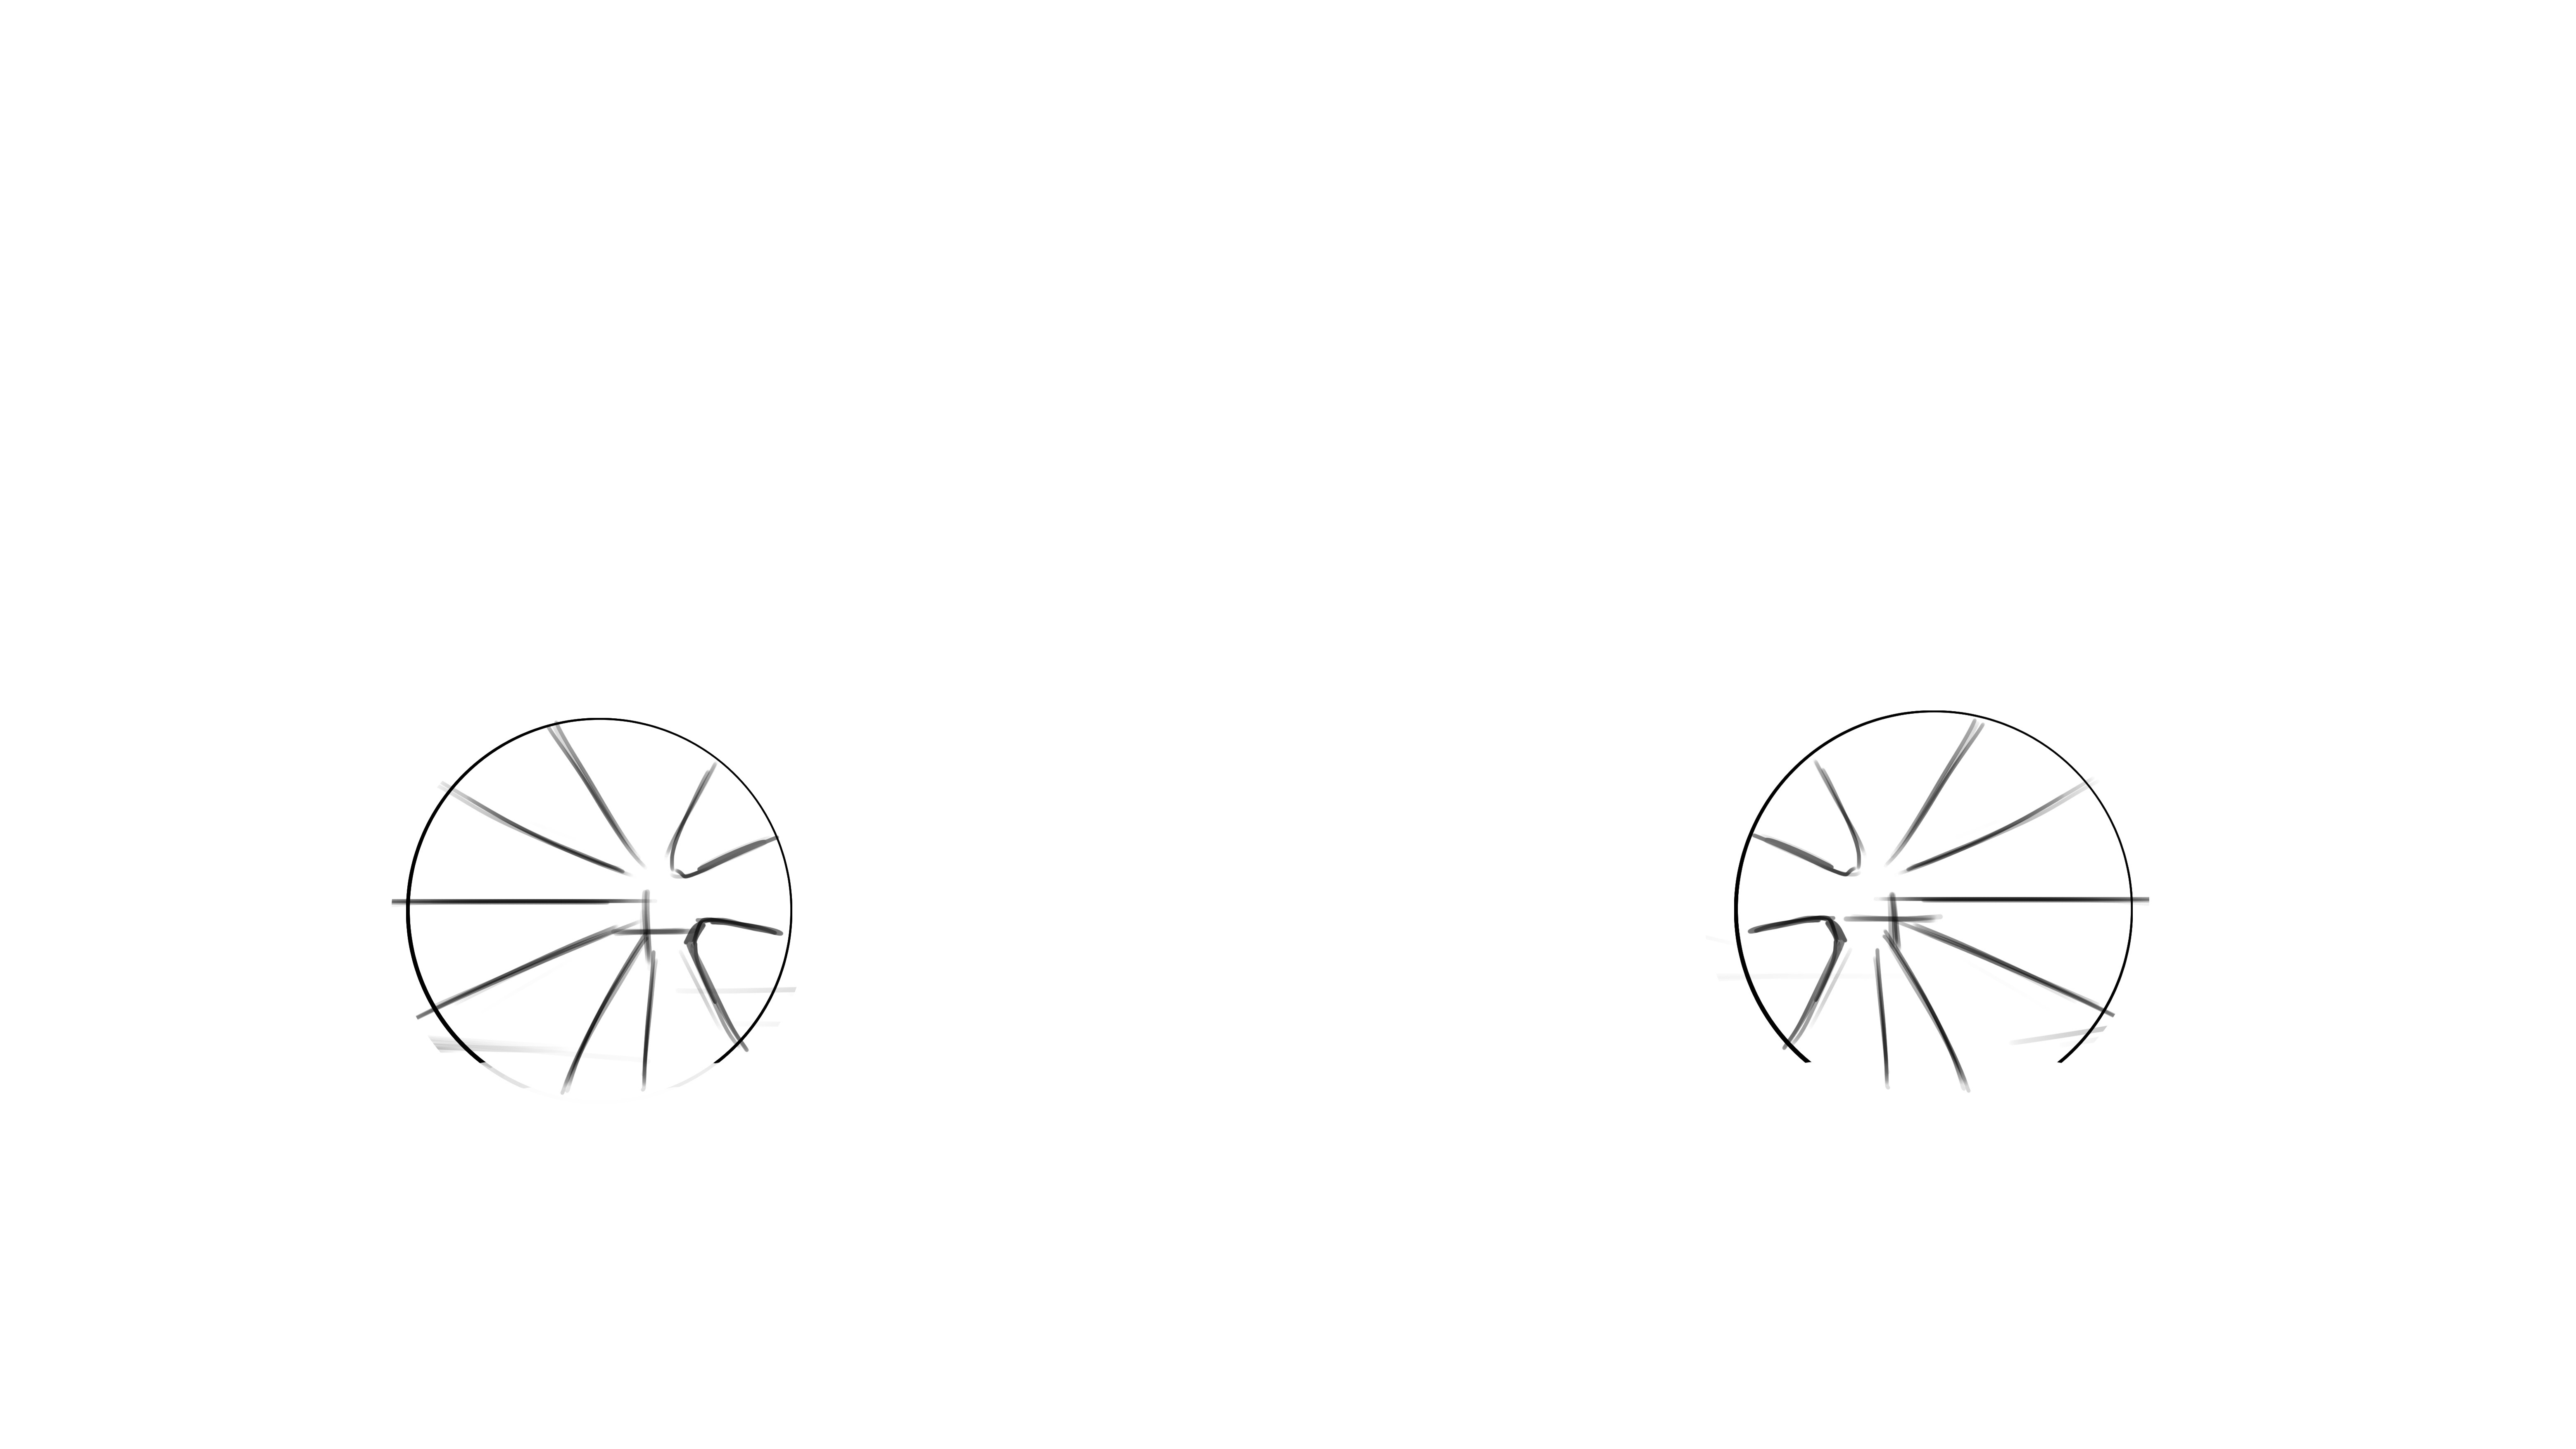
Drawing a car is not a very complicated process, but since it is the result of your creativity and imagination you can approach it in different ways. However, Michael recommends that you start out by drawing both wheels to get the proportions right. “When you draw your wheels it is up to you whether you start with two simple circles or add a little more: in this case I’ve started to think about the idea of a five-spoke wheel.”
Step 2: Outline the body
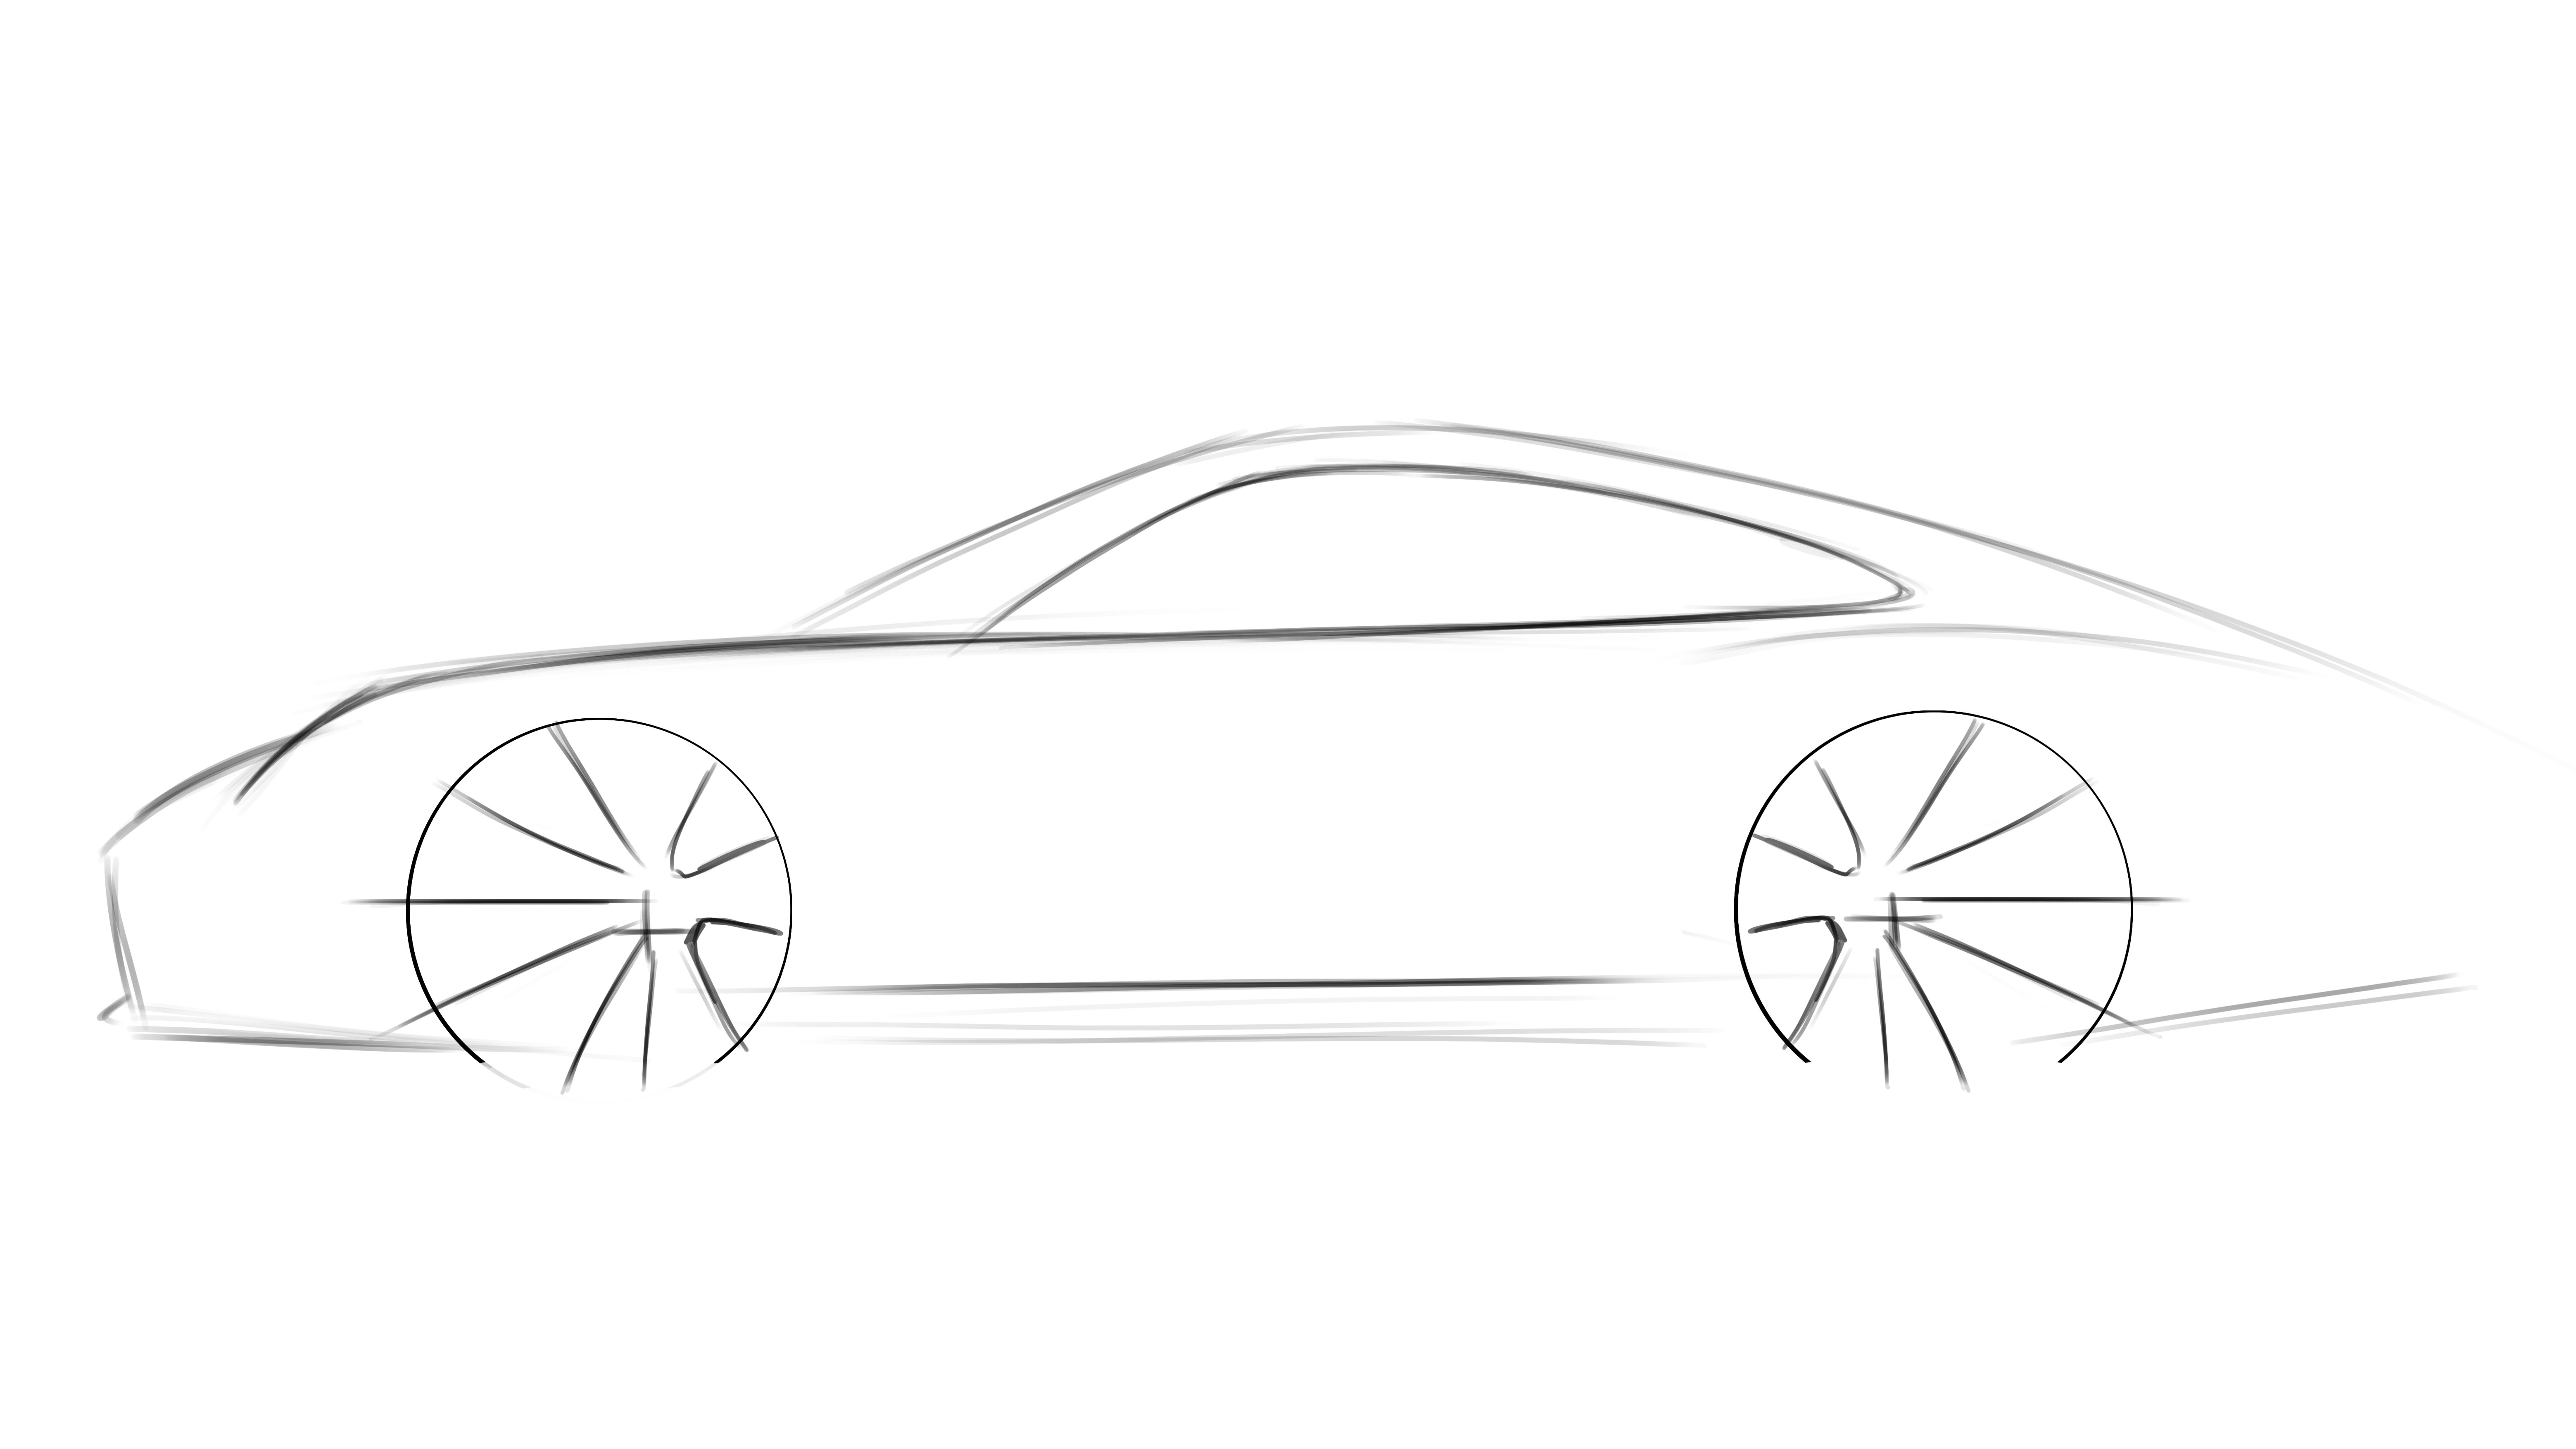
You need to start by drawing a line between the two wheels to put your car on the ground. Then continue onto outlining the silhouette of the car, a very iconic shape in case of the 911. “Sometimes you’ll find the silhouette and the wheelbase don’t match, and you have to think about moving the rear wheel but that’s no problem: that’s why we have erasers.”
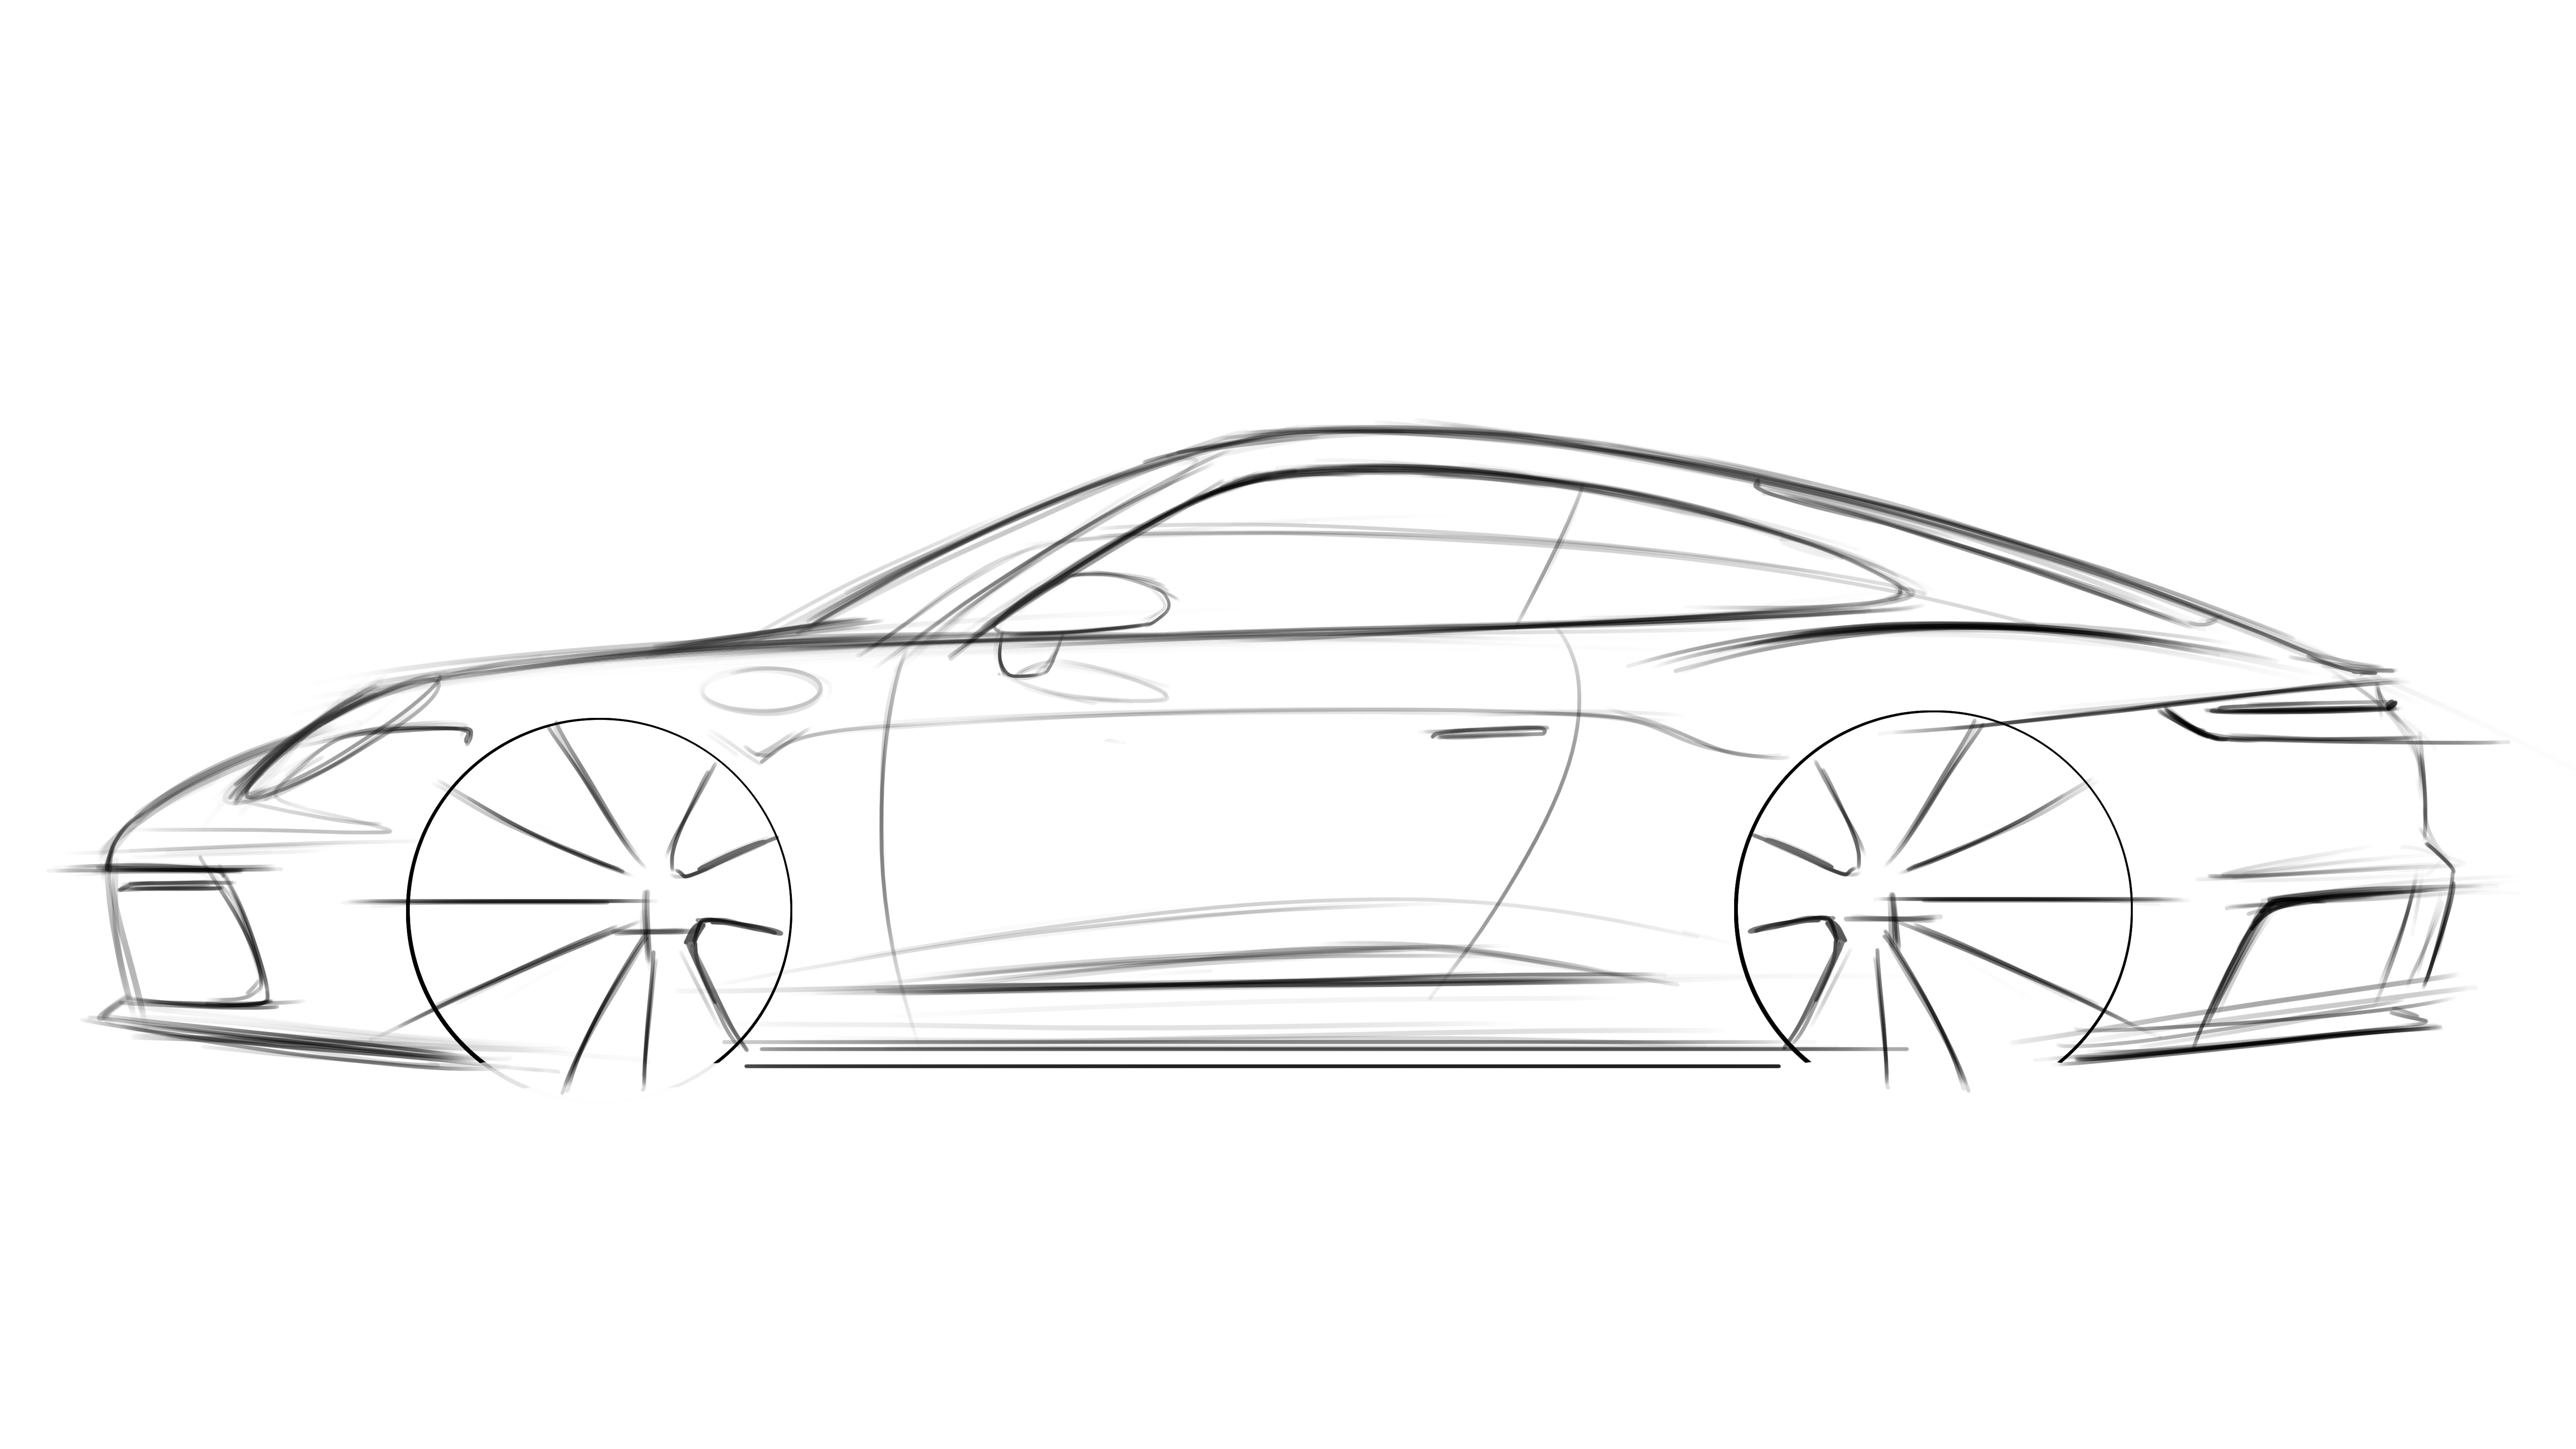
Step 3: Add details
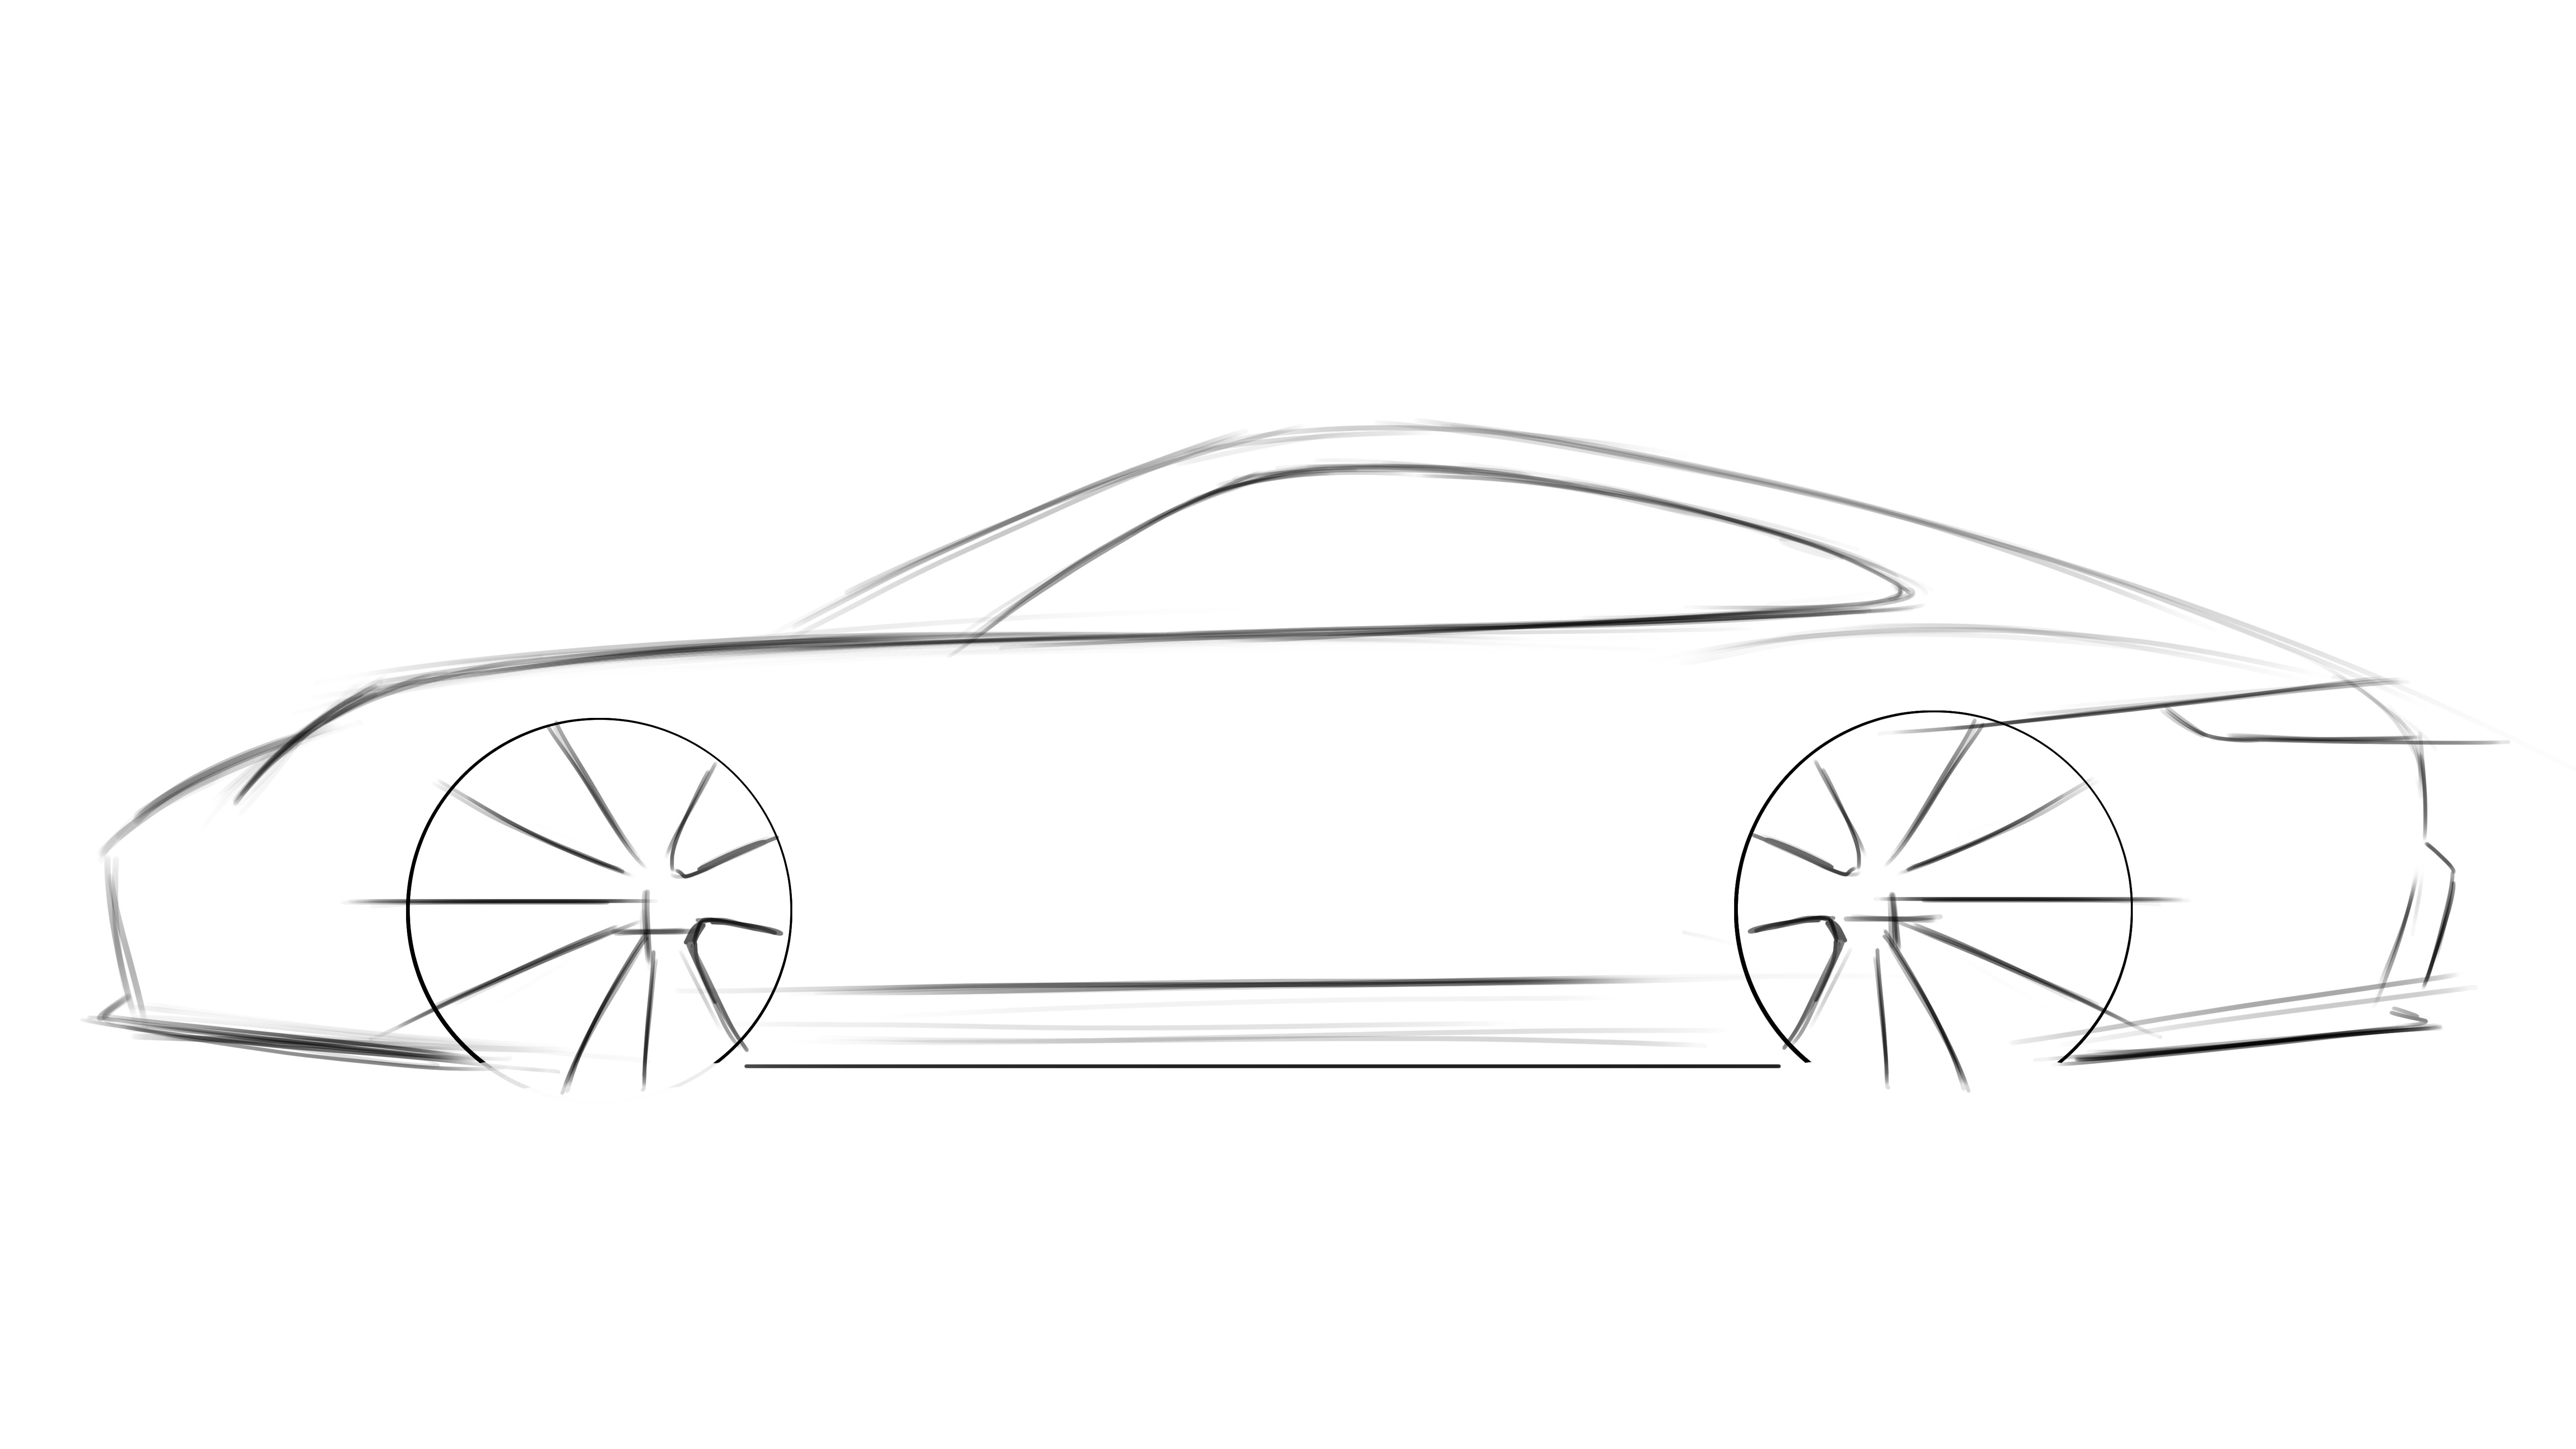
Now that the broad design if your car is in place, you can start to add in stuff like the windows, shape of the lights and more detail on the bumpers. “Designers often refer to the window as the DLO: the daylight opening. I think this term was invented so that we could have conversations no one else would understand. The DLO on the 911 is iconic and very different to a Cayenne or a Panamera, since they are four-seaters.”
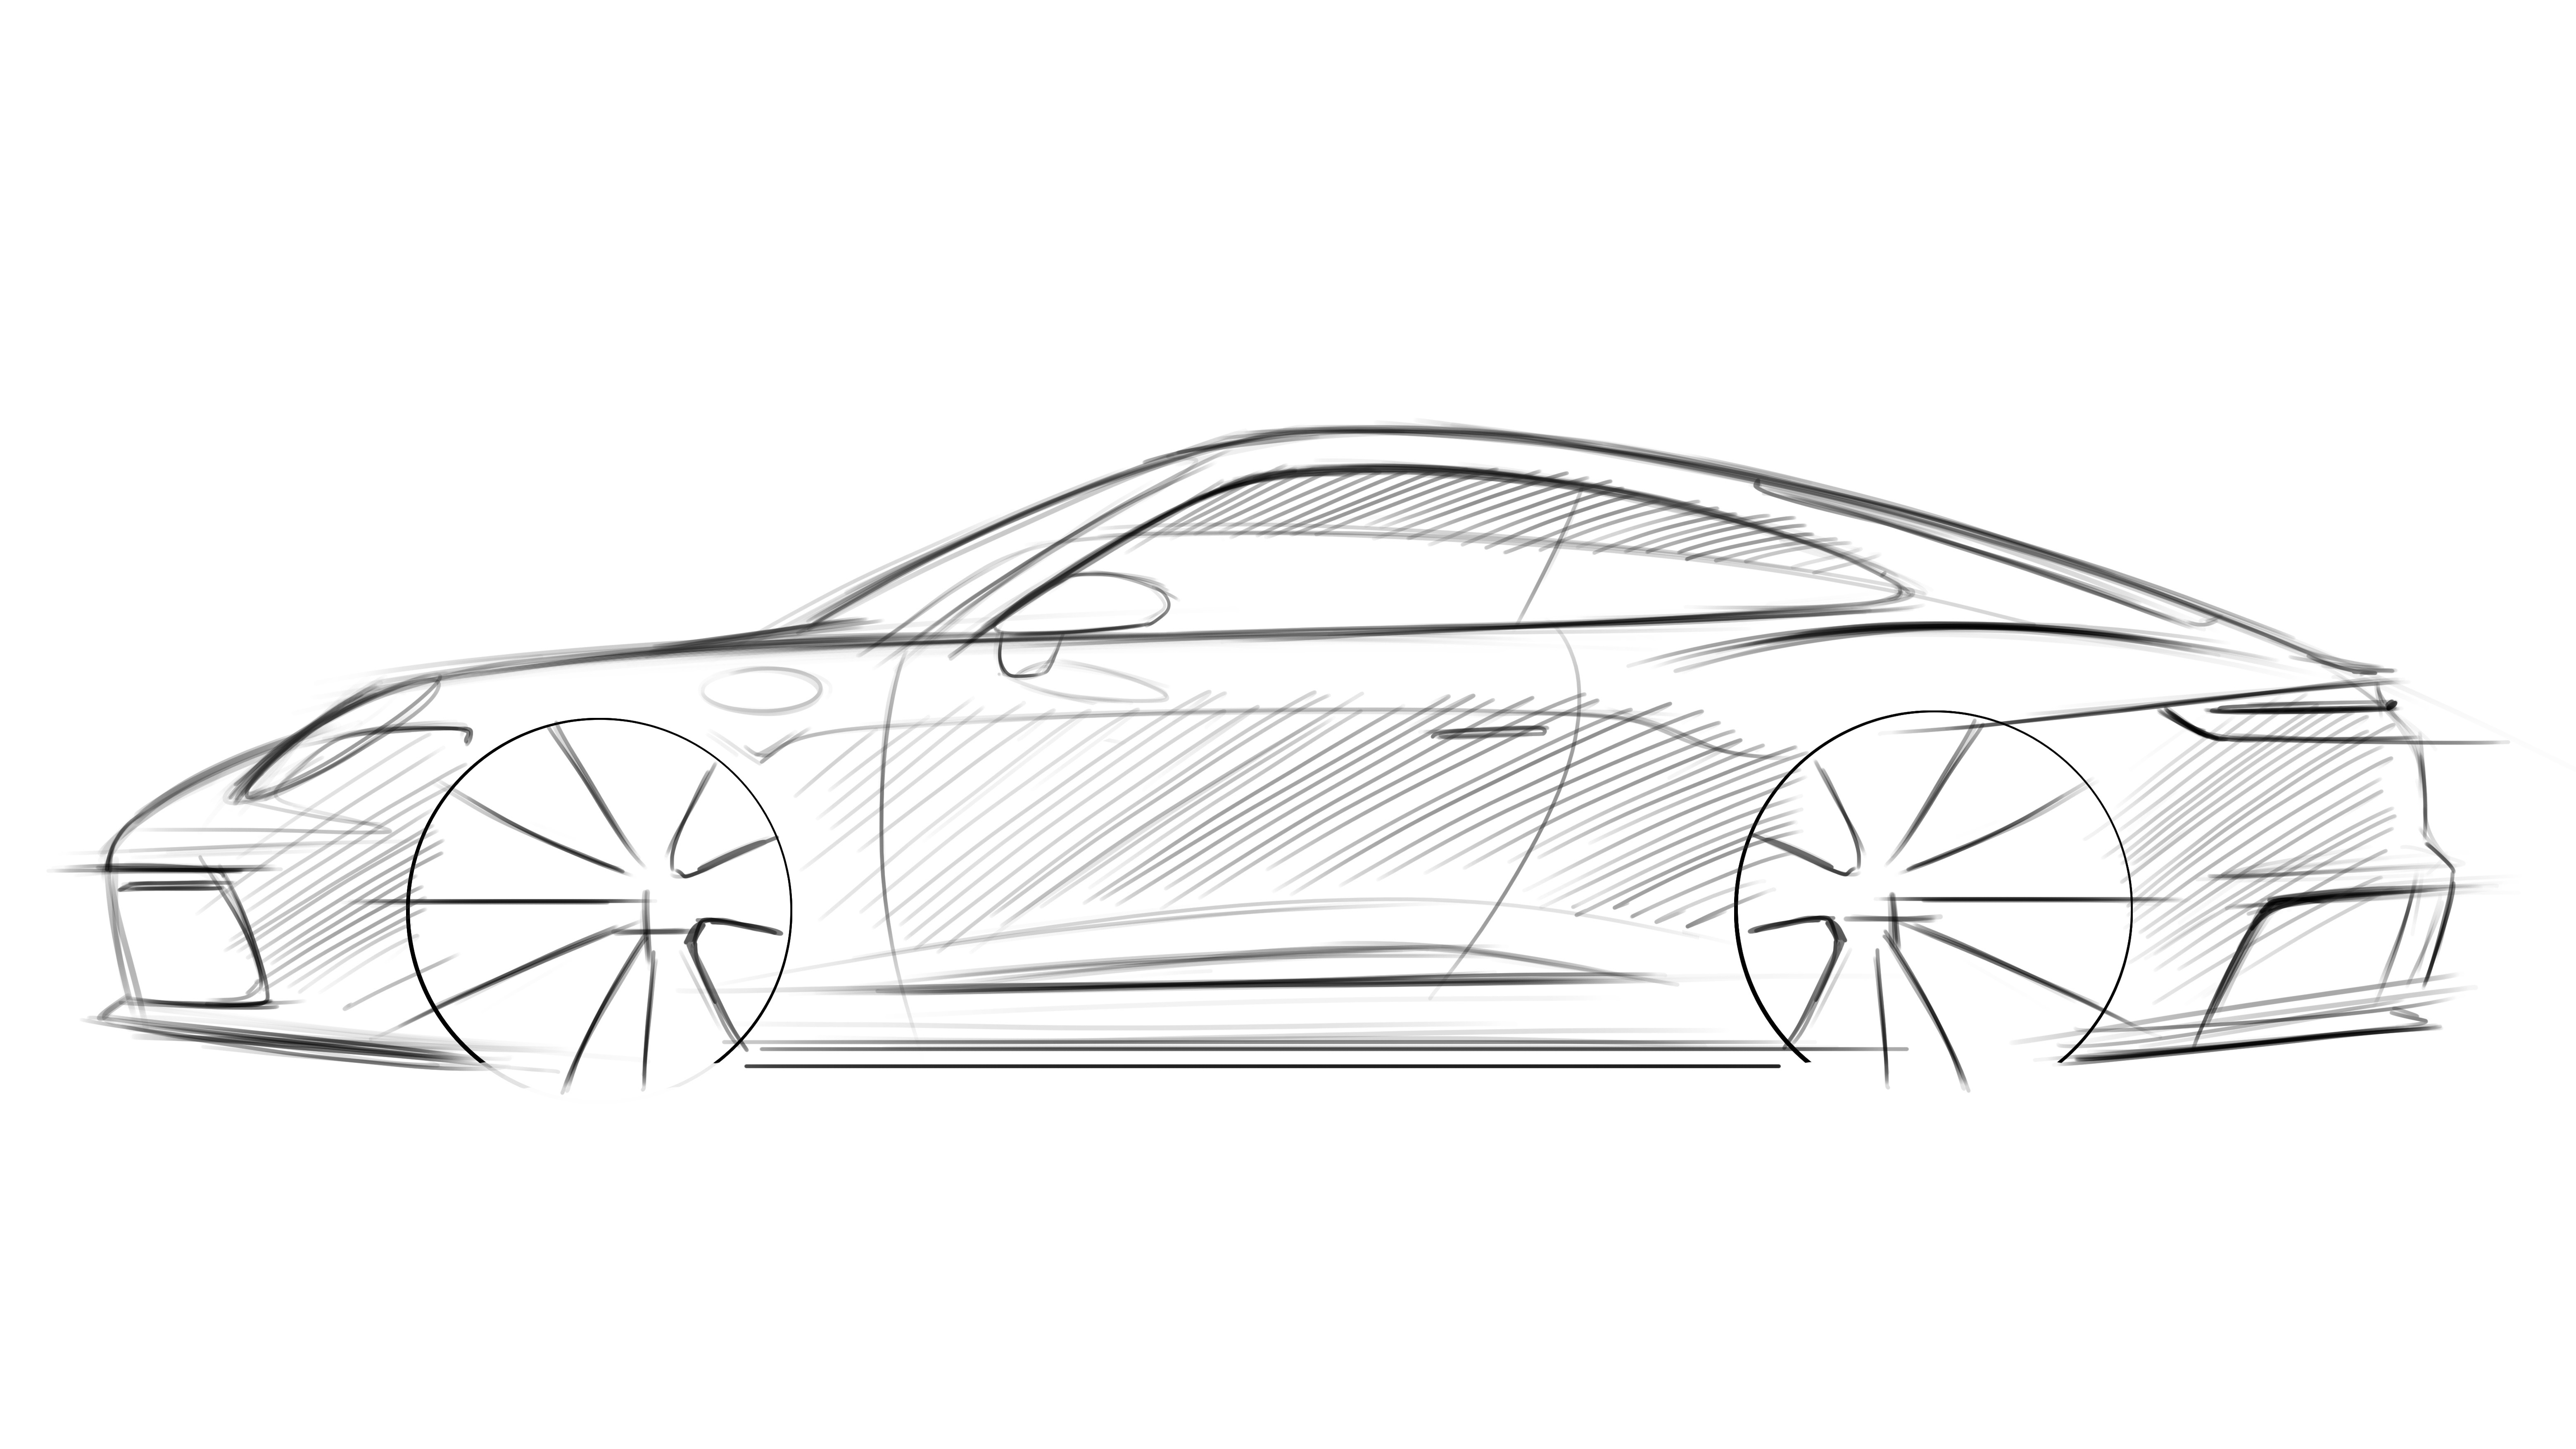
Step 4: Add more details
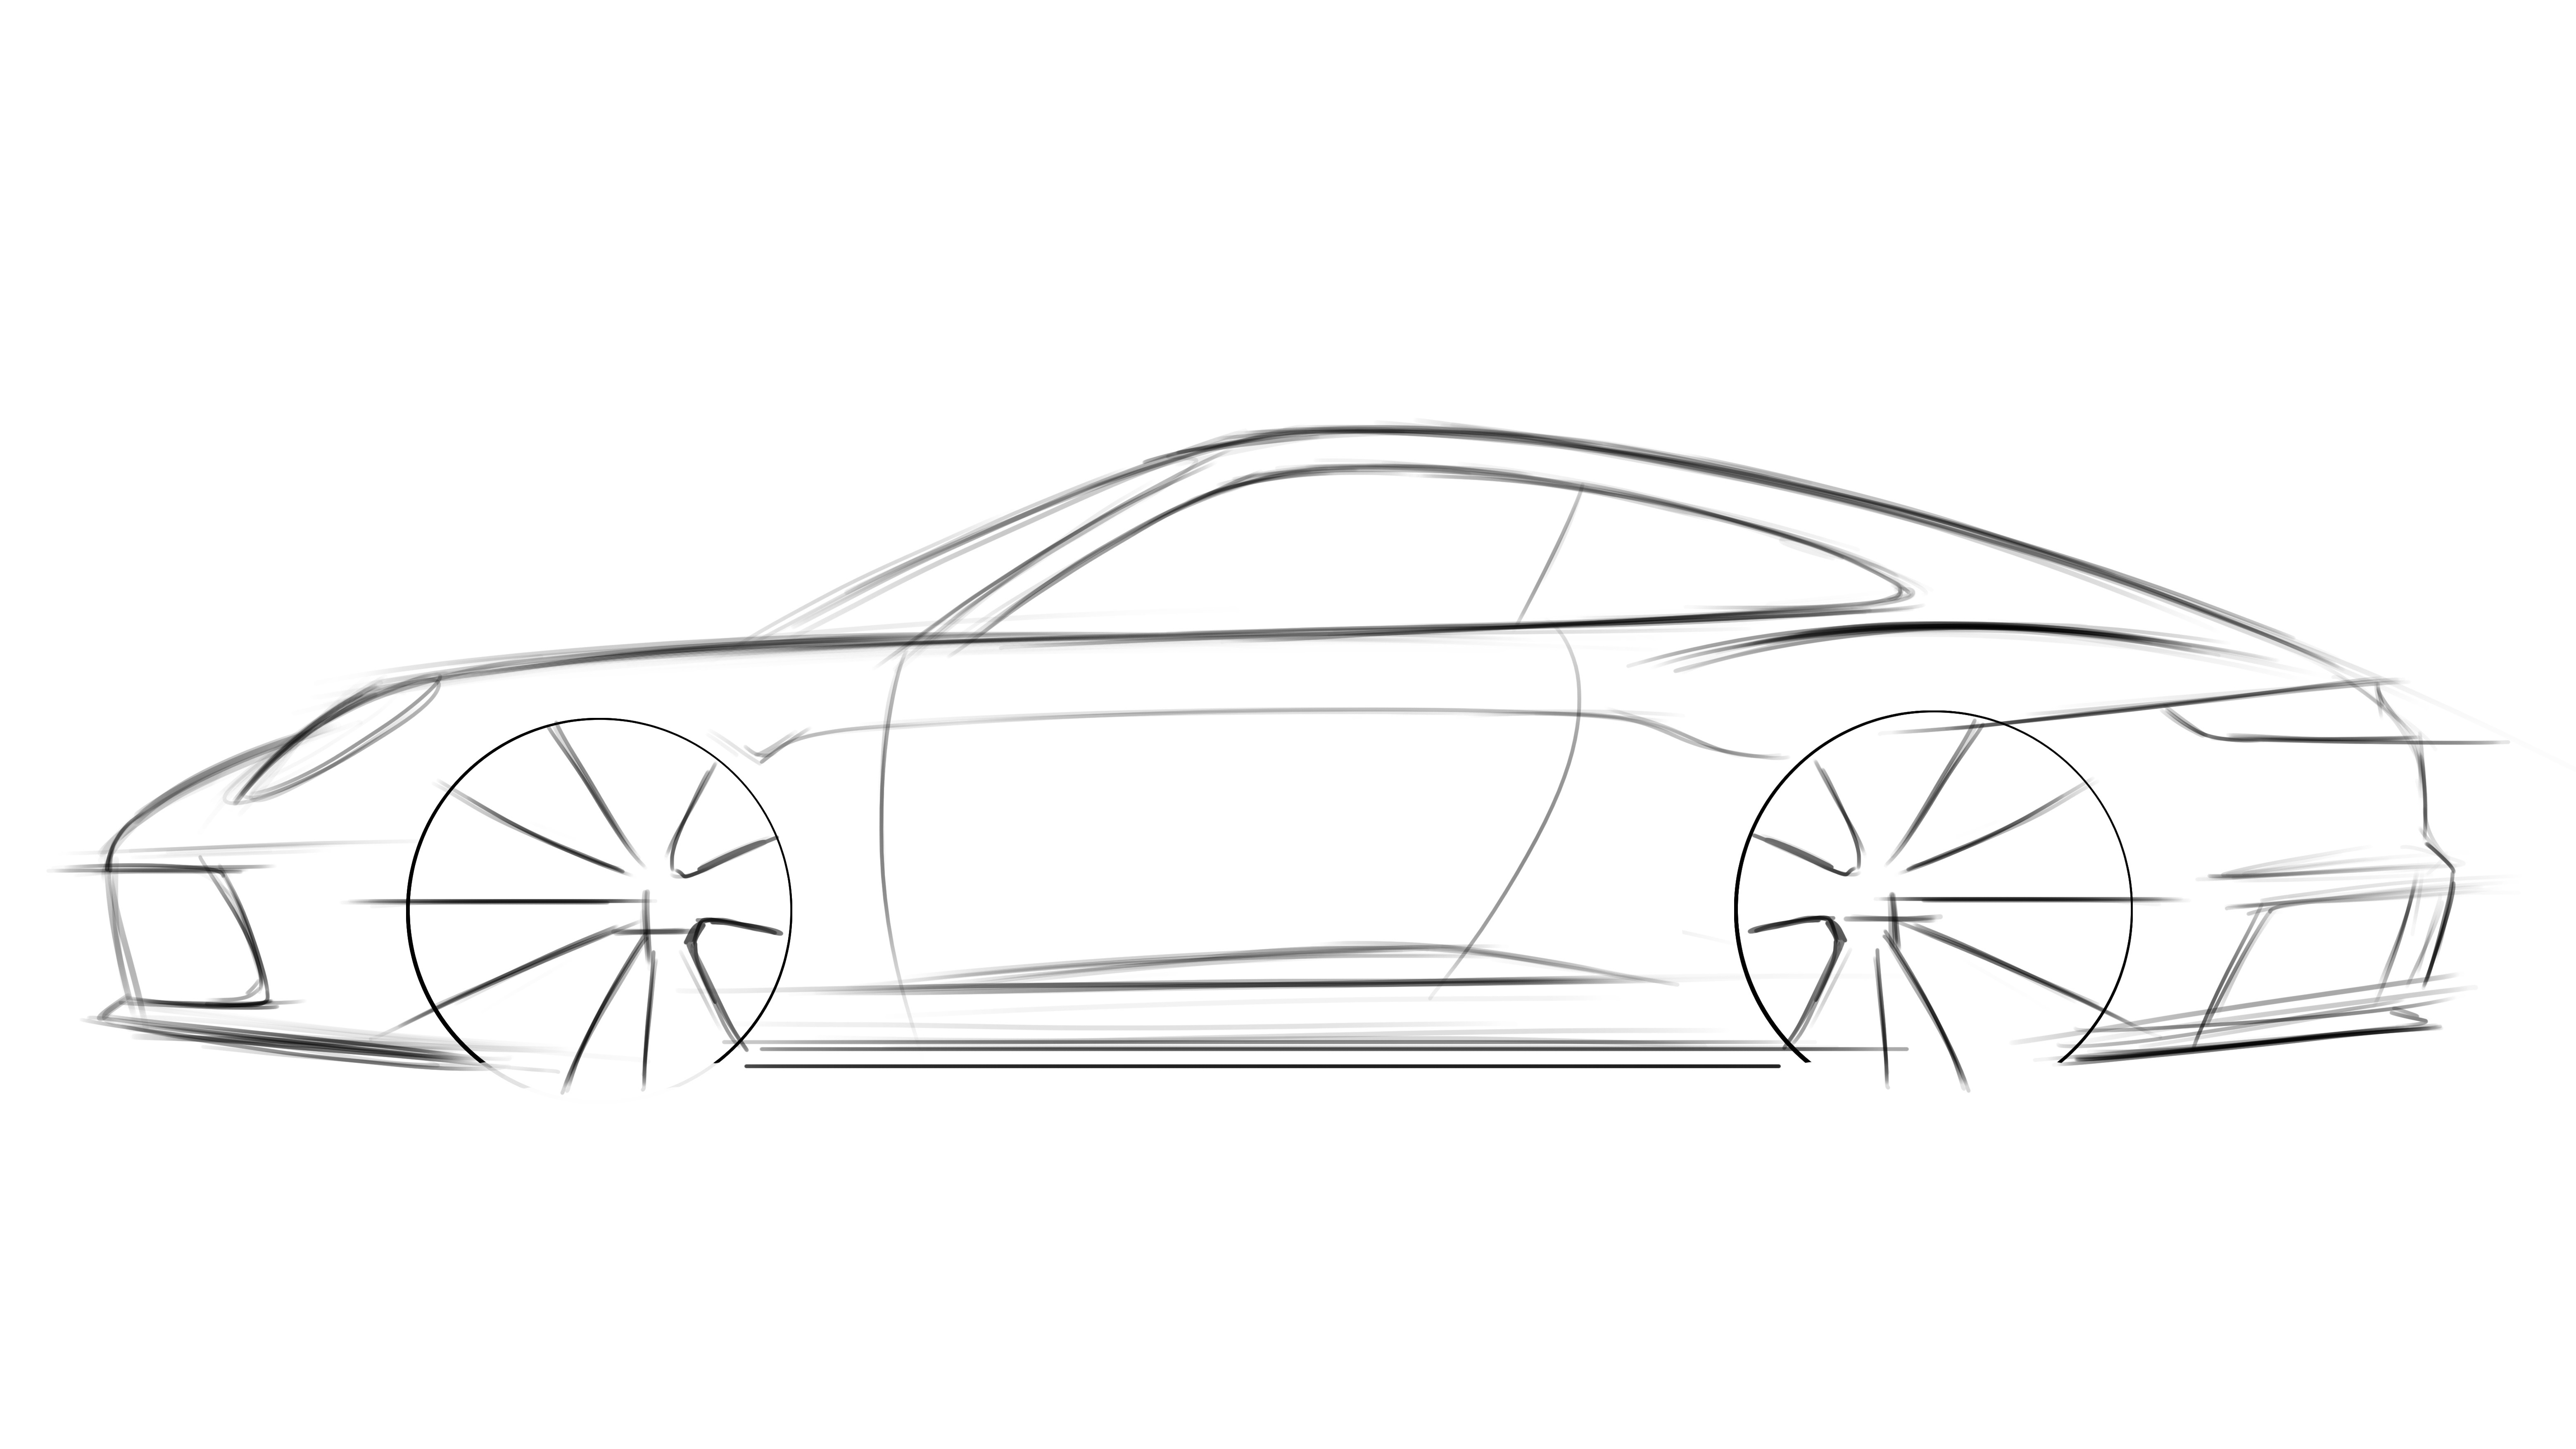
At this stage you will start to add more layers to the drawing, the air intakes, door openings, panel lines and creating a sense of depth to the sketch. “There’s a very fine line between the wheels now, just below the belt line. It’s very fine and doesn’t exist in the previous image. This very fine line gives the side – the surface between the wheels – a more three dimensional feel. It’s not an accident that this very fine line, when it comes closer to the rear wheel, is dropping. It doesn’t mean that on the final product the line drops, it’s just a way of visualising and giving the person that’s looking at the side view an impression of how the car might look in the flesh. If you look at the 911 from above, the rear track of the car is a little wider and these fainter lines help to indicate this.” Michael also adds that one must know when to stop sketching, “The biggest challenge is always to stop sketching: sometimes a sketch is nicer when you apply the “less is more” principle.”
Step 5: Add even more detail!
Here we are adding finer details like door handles and using a combination of fine and thicker lines to add or take away emphasis from a surface. “ If you are able to, park your car against a nice background and take a photograph of it. You’ll see lines that indicate the positive and the negative surface treatment. Try to imitate those lines in your drawings and it will help to bring your sketch to life.”
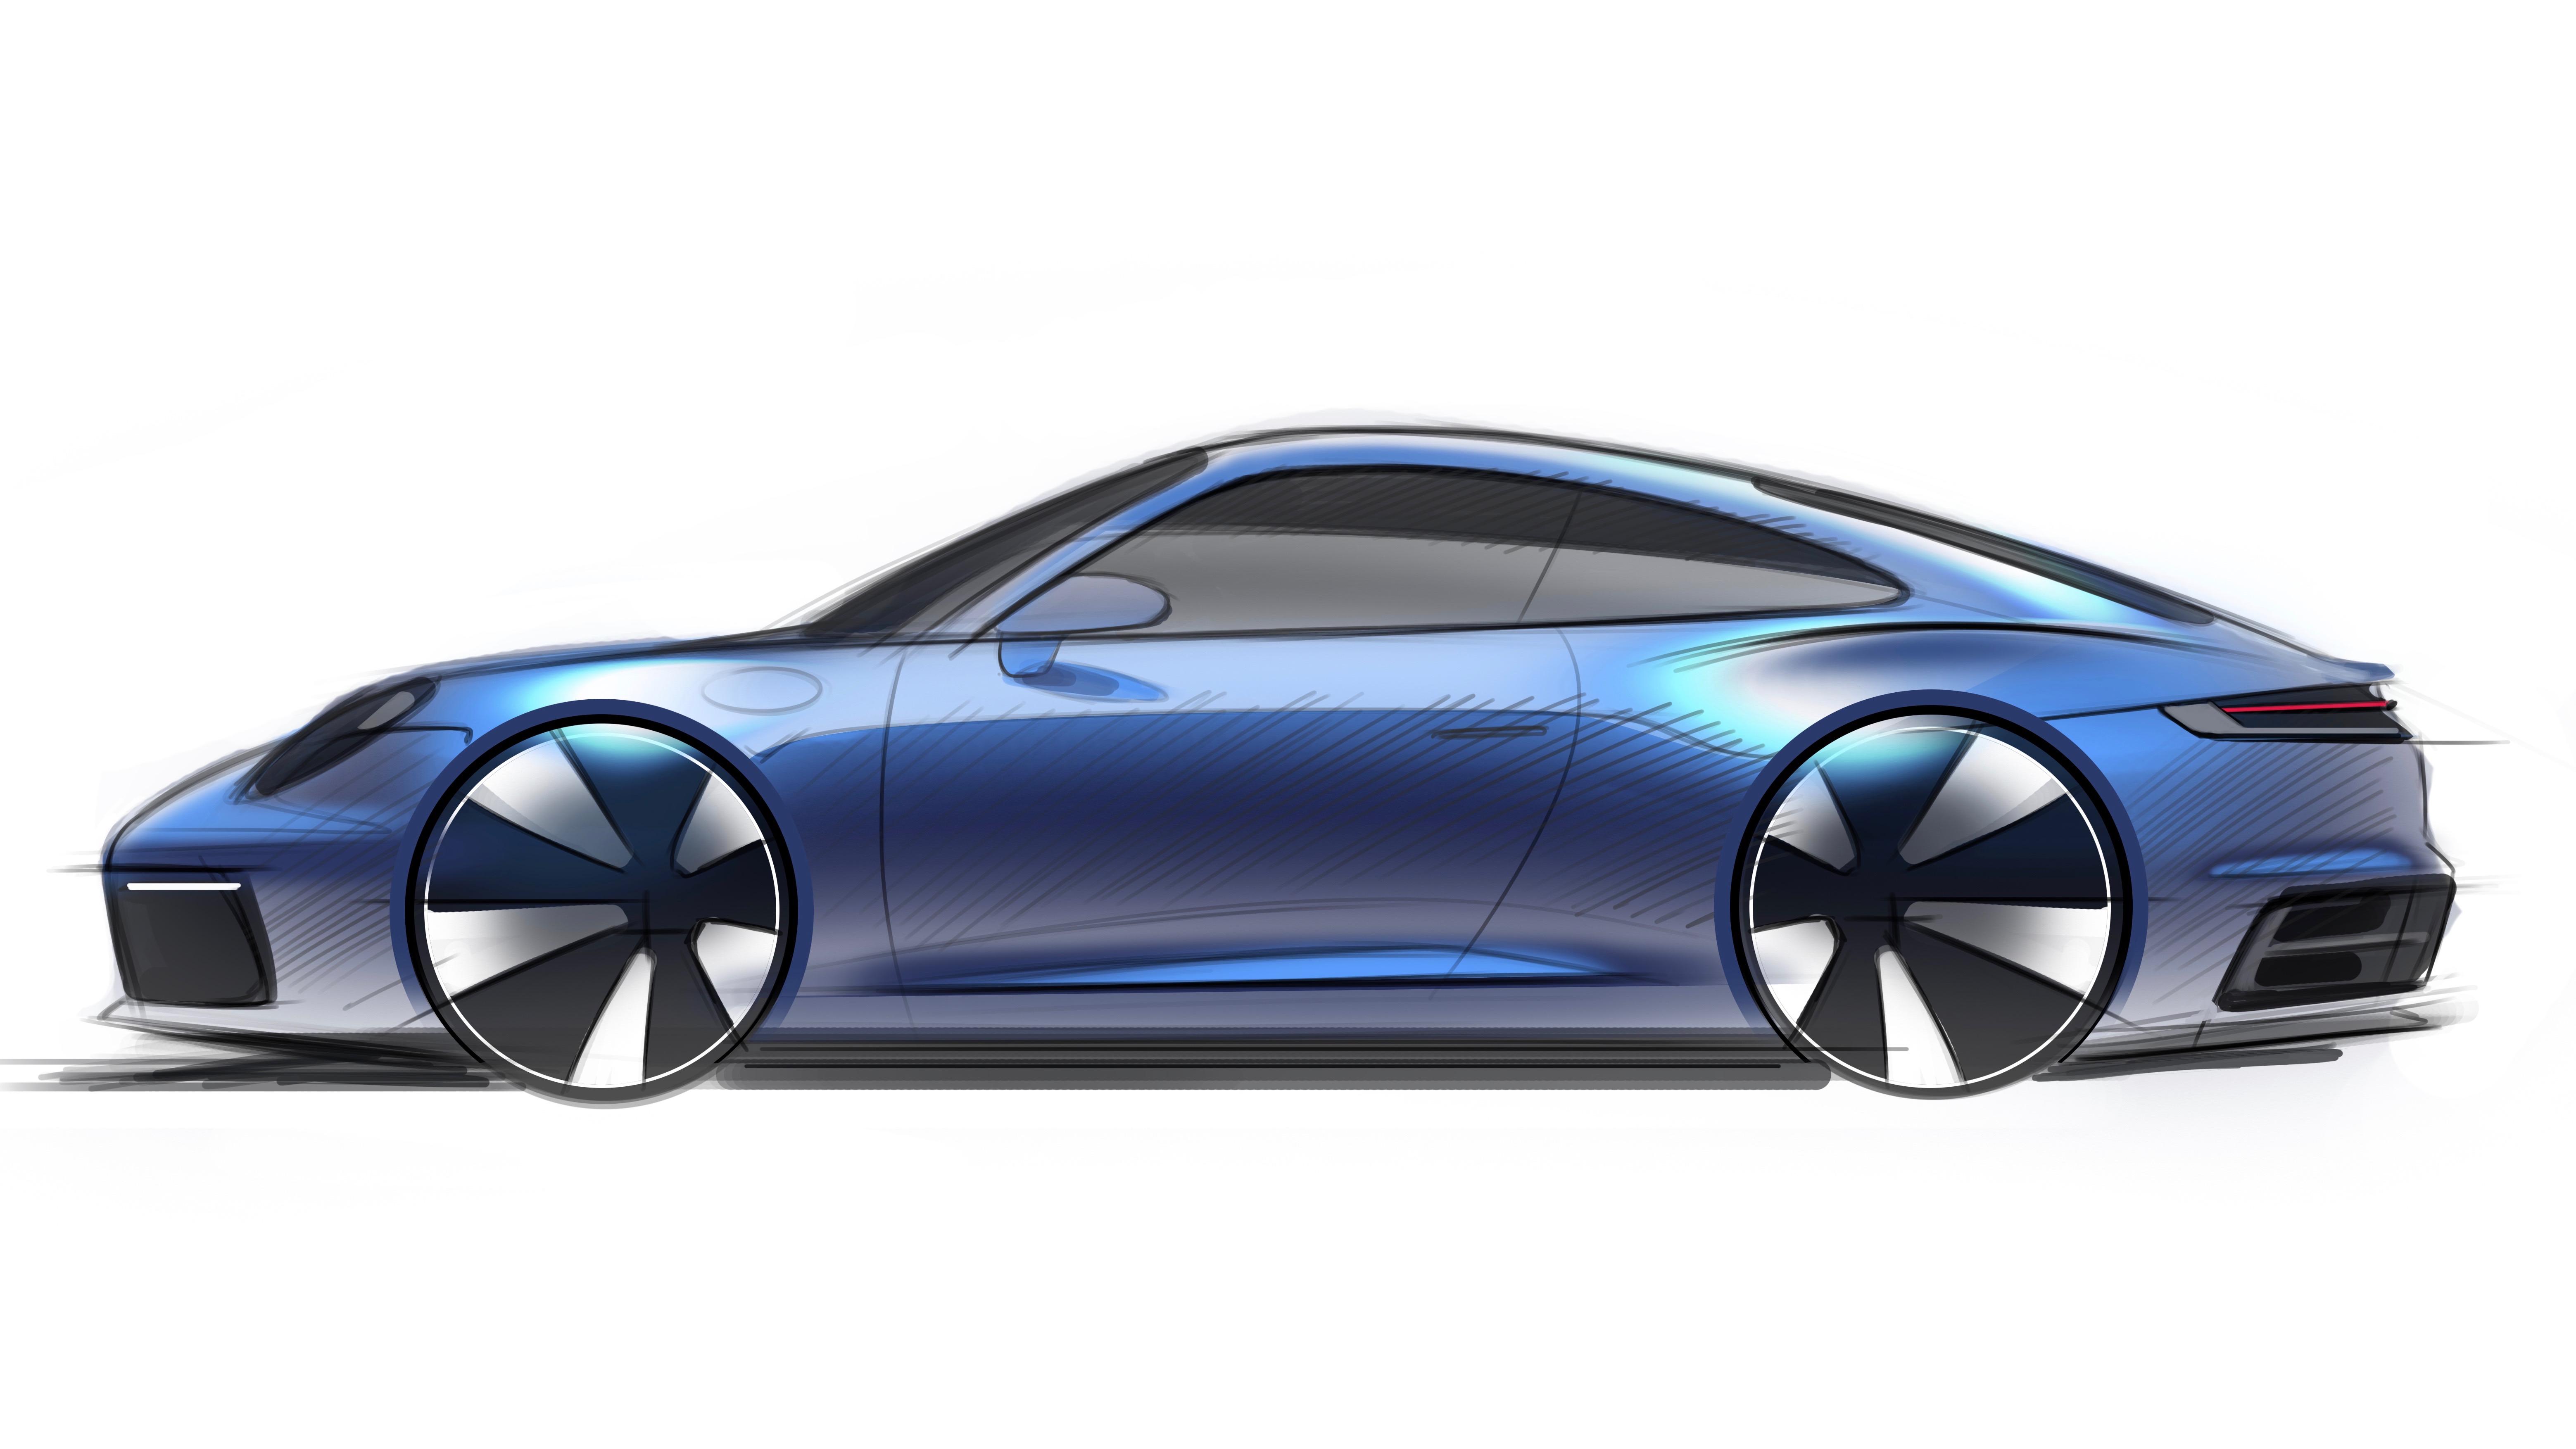
Step 6: Light & Shadow
If you read our coverage of the first part of the #GetCreativeWithPorsche with Richard Pardon, you’d know the role light and shadows play in our perception of a car. Similarly, you must try to replicate how light falls on a car in your sketch. “The shoulder is still completely without colour because we want to give the impression that this is reflecting light. Study photographs of cars and look at the areas that are highlighted, and which areas fall into shadow.”
Step 7: Colour it up!
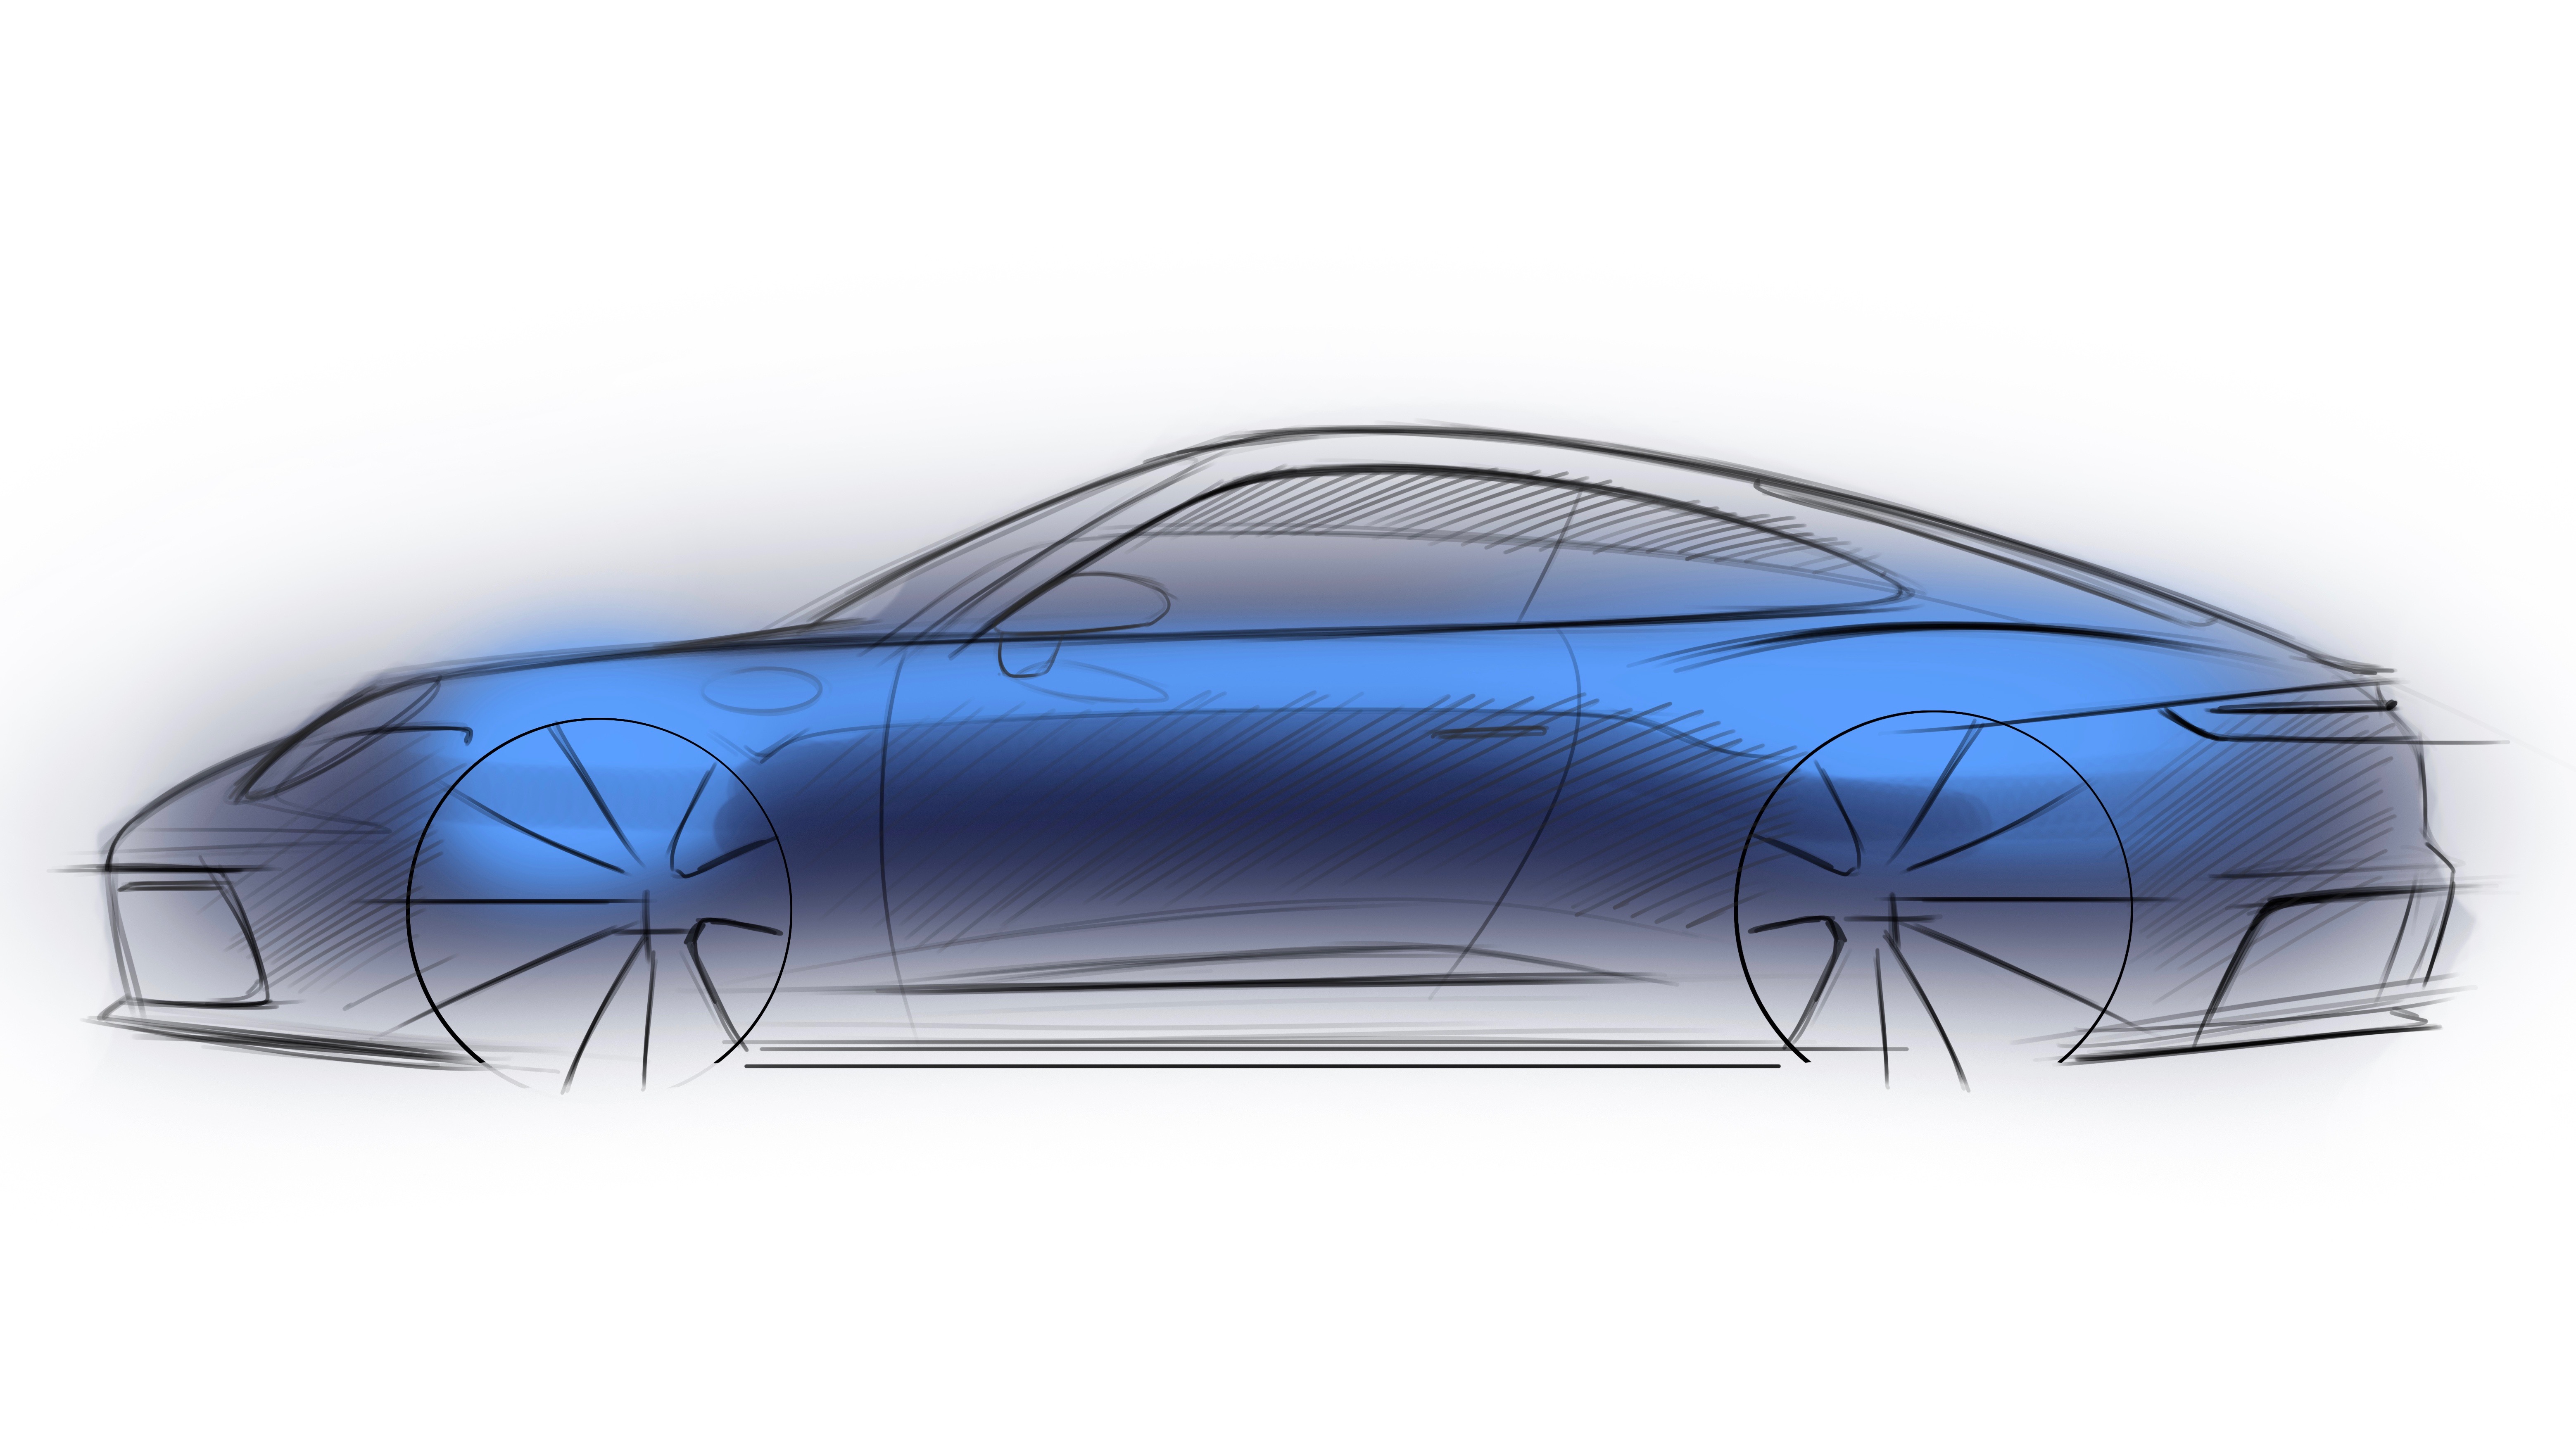
You can either use Photoshop or even just water colour or colour pencils to add some colour and life into your drawing. The parts of the car that face the sky will be coloured lighter and the surfaces that reflect the floor will be darker to add depth. “You don’t need Photoshop – I’m actually not very good with it – try using watercolour paint or crayons. When I am sketching it is often in a meeting, and I only have a pencil and paper with me.”
Step 8: Glass
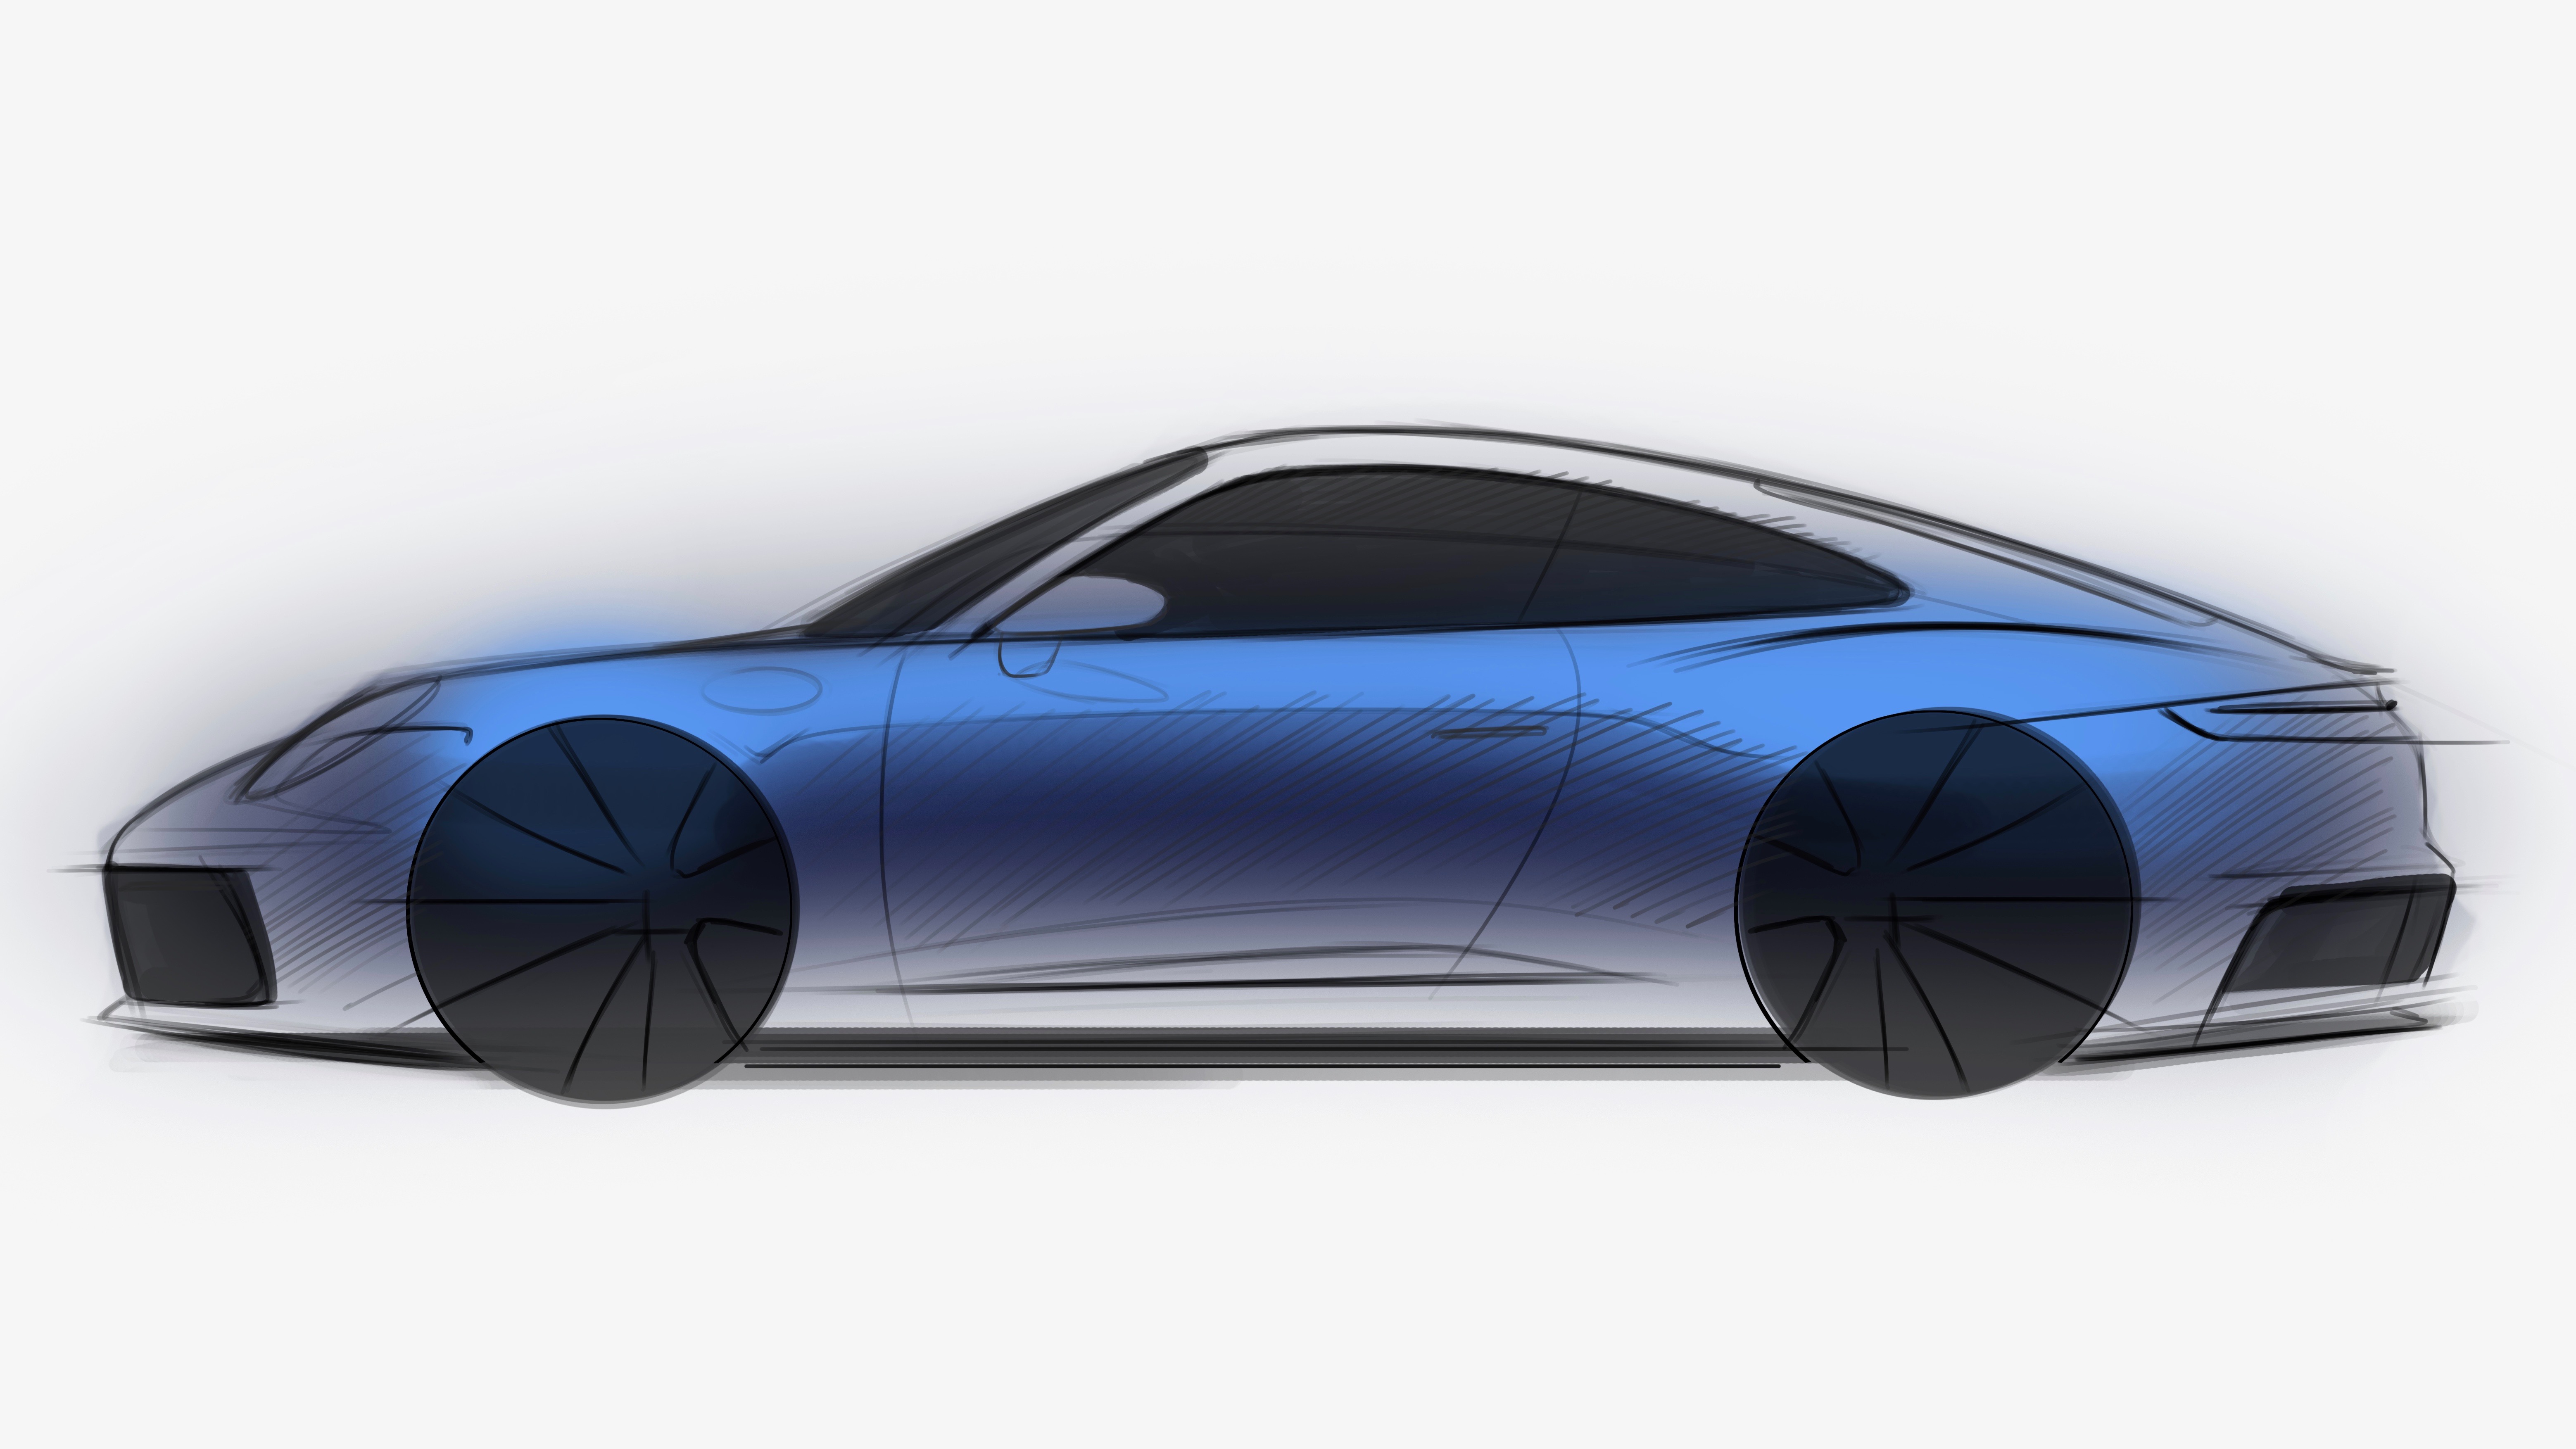
You can choose to treat glass any way you like — blacked out, clear or with slight shading. Michael prefers to black it out. “Each designer has their own way of treating glass but I like to colour it black at this stage, and the same with the wheels.”
Step 9: Highlights
Take a close look at how Michael has treated the side window. The top half is dark while the bottom half is light, showing curvature. “On very old cars the glass surface was completely straight but the side windows now have a curve in the glass. You can demonstrate this with a subtle change in colour.”
Step 10: More colour and depth
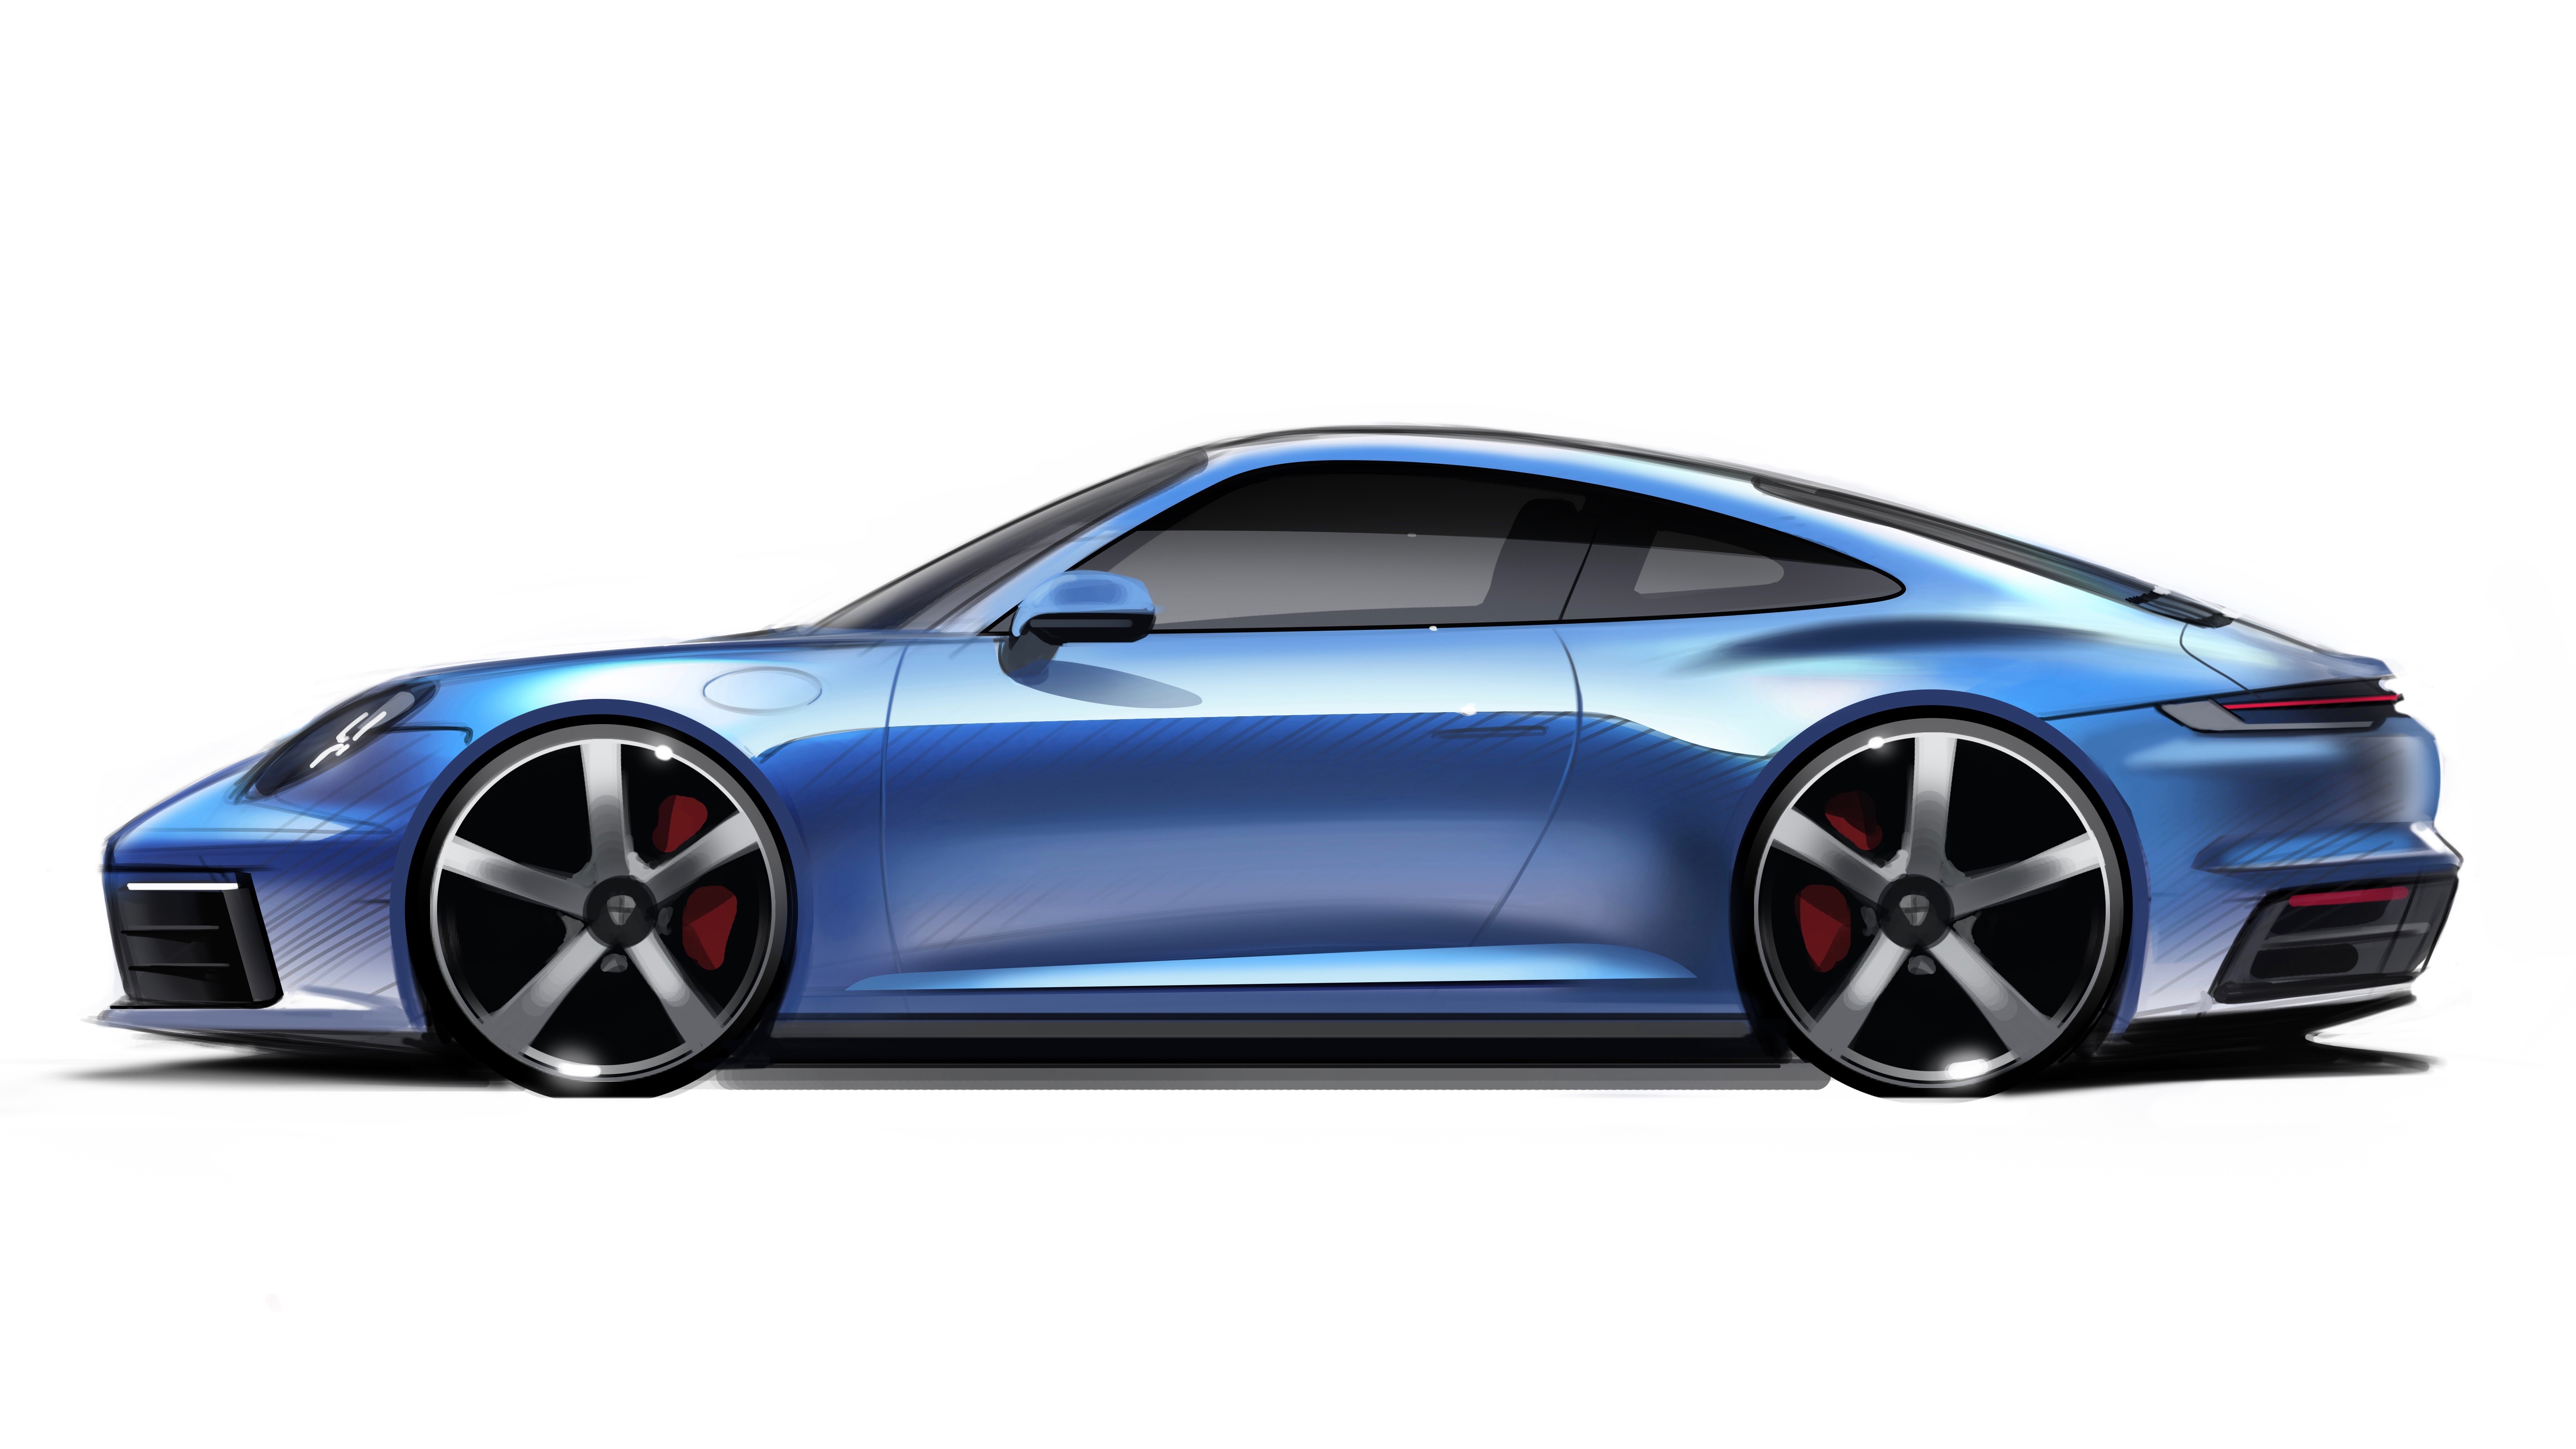
Add further depth into your sketch to truly make it look three-dimensional, Michael has added a darker layer on the glass to signify the window frame. You can take another look at pictures of cars to closely see how light is reflecting off different surfaces, “This changes, depending on where your car is parked but it’s useful to study how shadow appears on the different surfaces. Here, we use white paint to lift key areas, and a little colour is creeping into the lights and callipers. Consider adding a steering wheel. Or maybe you can see part of the seat.”
You’re done! Obviously your sketch may not look as good as Michael’s but there’s a reason he’s the head of design at one of the world’s greatest automotive manufacturers. “Keep your sketches,” says Michael, no matter how good or bad they are, they reflect your creative freedom at that point in time and may help add elements to a sketch you make later on, “design is always about trial and error and I encourage anyone to pick up a pencil and have a go.” So go ahead, draw a sketch of the Porsche 911 and post them on your Instagram stories, tag us @evoIndia and add the hashtag #GetCreativeWIthPorsche and we will repost the best ones. Get sketching!
Stay tuned for the next installment of the #GetCreativeWithPorsche series.

Karan Singh, Correspondent, evo India
Perhaps as much in love with Porsche 911s as he is with sneakers (and good food), Karan claims his love for cars started before he learnt to speak, even though there is a rumour around the office that he fell asleep while attending his first ever Grand Prix! He likes to find weird quirks about cars and dedicates a fairly large space in his head to random car facts and an equally large space in his heart for cars with cool specs. He came across this career path by chance, and going by how excited he gets as soon as new metal rolls into the office, he seems to be loving everyday of his journey as an automotive journalist.